Every product is independently reviewed and selected by our editors. If you buy something through our links, we may earn an affiliate commission at no extra cost to you.
Balcony planter boxes for railings are one of the most efficient ways to turn unused vertical space into a productive garden. Done correctly, they add color, privacy, and even fresh herbs without sacrificing floor space. Done poorly, they become unstable, dry out quickly, or stress plants due to shallow soil and wind exposure.
If you want railing planter boxes that are secure, structurally safe, and capable of supporting healthy root systems, this guide walks you through material selection, weight limits, soil composition, irrigation strategy, and the best plants for different sun exposures.
Introduction
Balcony railings create a unique microclimate. They’re elevated, wind-exposed, and often subject to reflected heat from glass, metal, or concrete surfaces. Most planter box failures on balconies stem from four predictable issues:
- Insufficient mounting strength
- Shallow soil depth
- Poor drainage
- Incorrect plant selection for sun exposure
The solution isn’t complicated but it requires understanding how container gardening changes when plants are elevated and exposed.
Below, you’ll find a complete expert guide to selecting and planting balcony planter boxes for railings that actually thrive.
Quick Summary
Minimum Soil Depth: 6–8 inches (8–10 inches preferred) Ideal Length: 18–24 inches for manageable weight Target Max Weight: Under 20–25 lbs per section unless mounted to structural posts Best Materials: UV-stabilized resin or powder-coated aluminum Ideal Soil Mix: 50–60% potting mix + 20–30% compost + 10–20% perlite Best Sun Exposure: East-facing for lowest maintenance Watering (Summer): 3–7 times weekly depending on exposure
Why Balcony Railing Planter Boxes Are Different from Regular Containers
1. Wind Exposure Is Higher
Balconies especially above ground level experience constant airflow.
Why it matters:
- Soil dries faster.
- Leaves transpire more rapidly.
- Taller flowers can snap.
Compact or trailing varieties perform better than tall, top-heavy plants.
2. Heat Reflection
Concrete, metal railings, and glass reflect significant heat.
South- and west-facing balconies can increase root-zone temperatures dramatically especially in USDA zones 8–11.
Mitigation strategies:
- Choose lighter-colored planter boxes.
- Avoid dark metal containers in extreme sun.
- Increase perlite content in soil for improved drainage.
3. Limited Soil Volume
Most railing planter boxes are 6–8 inches deep.
Shallow soil means:
- Faster drying
- Faster nutrient depletion
- Higher maintenance frequency
Plant selection must match these limitations.
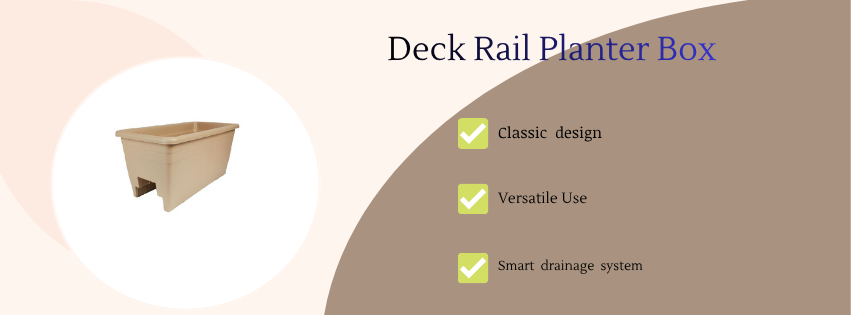
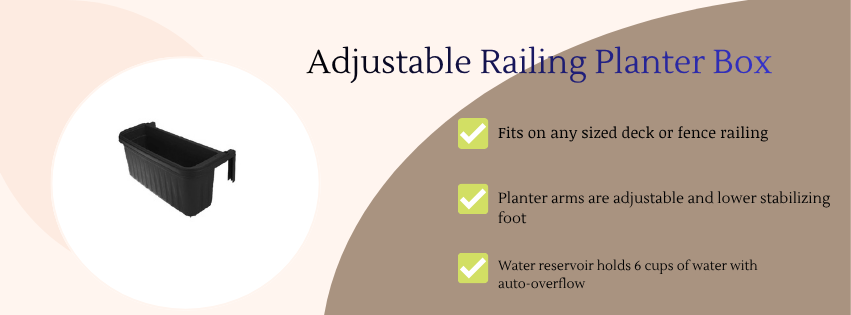
Types of Balcony Planter Boxes for Railings
1. Over-the-Rail Planter Boxes
Sit directly over railing.
Pros:
- No drilling
- Balanced weight distribution
Cons:
- Limited soil capacity
- Can shift in strong wind
Best for renters or seasonal displays.
2. Bracket-Mounted Planter Boxes
Attach with metal brackets to railing posts.
Pros:
- More secure
- Can support larger boxes
Cons:
- Requires drilling
- Must verify railing strength
3. Adjustable Clamp Planter Boxes
Use compression mechanisms.
Pros:
- No permanent damage
- Fit multiple railing sizes
Cons:
- Lower weight tolerance
Weight & Structural Safety Considerations
Wet soil is heavy.
Approximate weight calculation:
- 1 cubic foot of moist potting mix = 20–30 lbs
- A typical 24-inch railing planter (8″ deep) can weigh 15–25 lbs when watered
Safety Guidelines:
- Stay under 20 lbs unless mounted directly to structural posts.
- Always install empty and fill after securing.
- Inspect railings annually for looseness.
Balcony safety should always take priority over plant size.
Best Materials for Balcony Railing Planter Boxes
UV-Resistant Resin
Best overall option.
- Lightweight
- Weather-resistant
- Affordable
- Low maintenance
Avoid thin, brittle plastic.
Powder-Coated Aluminum or Steel
Premium choice.
- Durable
- Modern aesthetic
- Strong bracket systems
Downside: Can heat up in full sun.
Wood (Cedar or Teak)
Natural look.
- Requires annual sealing
- Heavier than resin
- Moderate maintenance
Soil Composition for Balcony Railing Planter Boxes
The soil mix determines long-term success.
Recommended Blend:
- 50–60% premium potting mix
- 20–30% compost
- 10–20% perlite or pumice
Why this works:
- Maintains aeration
- Prevents compaction
- Supports consistent drainage
Never use garden soil it compacts quickly and adds unnecessary weight.
Drainage Requirements
Drainage holes are non-negotiable.
If water drips onto lower balconies:
- Use drip trays cautiously
- Never block holes completely
- Install small spacers to create airflow gap
Standing water in shallow containers causes root rot rapidly.
Best Plants for Balcony Railing Planter Boxes
Match plants to sun direction.
Full Sun (6–8+ Hours, South/West Facing)
- Geraniums
- Calibrachoa
- Lantana (zones 8–11 perennial)
- Portulaca
- Verbena
Water daily during heat waves in zones 9–11.
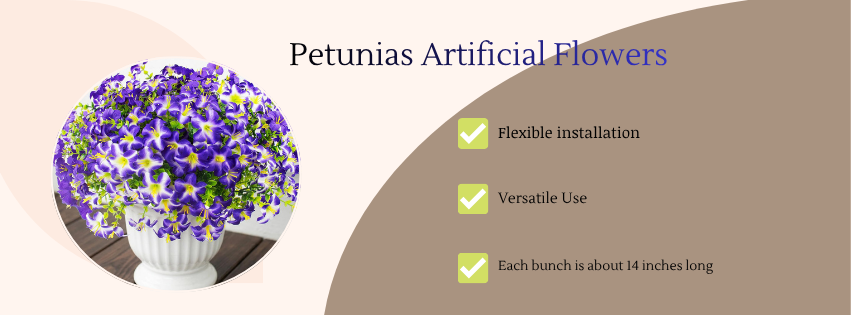
Partial Sun (East Facing Ideal)
- Petunias
- Bacopa
- Nasturtiums
- Parsley
- Chives
Morning sun reduces stress and watering frequency.
Shade (North Facing)
- Impatiens
- Begonias
- Coleus
- Ferns
Increase compost content slightly for moisture retention.
Irrigation Options
Manual Watering
Lowest cost.
Requires daily checks during summer.
Self-Watering Planter Boxes
Best for:
- Petunias
- Bacopa
- Impatiens
Less ideal for drought-tolerant herbs.
Drip Irrigation Kits
Ideal for multiple boxes.
- Connect to timer
- Provides consistent moisture
- Reduces plant stress
Cost range: $50–$200 depending on setup.
Fertilization Strategy
Shallow containers deplete nutrients quickly.
At Planting:
Incorporate slow-release granular fertilizer.
Throughout Season:
Liquid fertilizer every 2–3 weeks.
Reduce feeding during extreme heat stress.
USDA Zone Considerations
Zones 3–6
- Remove annuals after frost.
- Empty soil before hard freezes.
- Store lightweight boxes indoors.
Zones 7–8
- Some perennials survive mild winters.
- Monitor drainage during heavy rains.
Zones 9–11
- Year-round planting possible.
- Monitor salt buildup from frequent watering.
Common Beginner Mistakes
- Exceeding railing weight capacity.
- Choosing overly tall flowers.
- Blocking drainage holes.
- Using heavy garden soil.
- Ignoring sun exposure direction.
- Overcrowding plants.
Budget vs Premium Setup Comparison
Budget Setup ($75–$200)
- Resin planter boxes
- Standard potting mix
- Manual watering
- Seasonal annual flowers
Maintenance: Moderate to high.
Premium Setup ($300–$900+)
- Powder-coated metal or high-end resin
- Self-watering reservoir
- Drip irrigation system
- Slow-release fertilizer program
Maintenance: Lower long-term labor.
Higher upfront cost but longer lifespan.
FAQ
1. How deep should balcony railing planter boxes be?
At least 6 inches; 8–10 inches preferred for moisture stability.
2. Are railing planter boxes safe on high balconies?
Yes—if weight limits are respected and securely mounted.
3. How often should I water balcony planter boxes?
In summer, check daily. Most require watering 3–7 times weekly depending on sun and wind.
4. Can I grow vegetables in railing boxes?
Leafy greens and herbs perform well. Avoid large fruiting crops.
5. What is the best material for longevity?
UV-stabilized resin or powder-coated aluminum offers the best durability-to-weight ratio.
6. Do planter boxes damage railings?
Not if properly installed and spaced to allow airflow and drainage.
Conclusion
Balcony planter boxes for railings are one of the smartest upgrades for small outdoor spaces but only when chosen and installed correctly.
Prioritize structural safety. Keep total weight manageable. Use a lightweight, well-draining soil mix. Match plant selection to sun direction and USDA zone. Water consistently and fertilize regularly.
Start with one or two boxes, observe how they perform in your balcony’s specific microclimate, then expand gradually.
With proper setup, railing planter boxes transform unused vertical space into vibrant, productive garden displays that provide color, privacy, and seasonal enjoyment year after year.