Every product is independently reviewed and selected by our editors. If you buy something through our links, we may earn an affiliate commission at no extra cost to you.
Healthy container vegetables begin below the surface. If your tomatoes stall, lettuce wilts quickly, or peppers produce weak fruit, the issue is often the soil not the plant. In container gardening, soil structure determines root health, nutrient uptake, drainage, and ultimately yield.
Choosing the right soil for container vegetables is the single most important decision you’ll make. Get it right, and even a small balcony can produce consistent harvests. Get it wrong, and you’ll fight drainage issues, root rot, nutrient deficiencies, and stunted growth all season.
This guide explains exactly what soil works best, why it works, how to choose or mix it, and how to maintain it for long-term success.
Introduction
Container gardening is ideal for small spaces balconies, patios, rooftops, and compact yards. But containers behave very differently from in-ground beds. Roots are confined. Water evaporates faster. Nutrients deplete quickly.
One of the biggest beginner mistakes I see is using garden soil or topsoil in pots. It seems logical. It’s also the fastest way to suffocate roots.
In this guide, you’ll learn:
- The ideal soil composition for container vegetables
- Why drainage and aeration matter more in pots
- How soil depth affects yield
- The difference between budget and premium potting mixes
- How to build a DIY mix that outperforms store-bought options
By the end, you’ll know exactly what kind of soil to use—and how to manage it for consistent harvests.
Quick Summary:
- Use a high-quality potting mix, not garden soil.
- Ideal blend: peat moss or coco coir + compost + perlite.
- Target pH range: 6.0–6.8.
- Ensure containers have adequate drainage holes.
- Match container depth to root depth:
- Leafy greens: 6–8 inches
- Herbs: 8–10 inches
- Tomatoes/peppers: 12–18 inches
- Add slow-release organic fertilizer at planting.
- Refresh or amend soil each season.
Why Garden Soil Fails in Containers
Using backyard soil in pots is one of the most common mistakes in container gardening.
The Core Problem: Compaction
In the ground, soil benefits from:
- Earthworm activity
- Natural drainage
- Microbial ecosystems
- Deep soil structure
In containers, none of that exists. Garden soil compacts quickly, reducing oxygen around roots.
Why This Matters
Vegetable roots require oxygen for respiration. When soil becomes dense:
- Water drains slowly
- Roots suffocate
- Fungal diseases increase
- Growth slows dramatically
Cost Impact
Using free garden soil may seem economical. But reduced yields, plant loss, and replanting costs often exceed the price of quality potting mix.
Maintenance Impact
Compacted soil requires mid-season repotting or soil replacement labor-intensive and stressful for plants.
What Makes the Best Soil for Growing Vegetables in Containers
The best container soil balances three factors:
- Drainage
- Aeration
- Moisture retention
Let’s break down the ideal components.
1. Peat Moss or Coco Coir (40–60%)
These form the base of most high-quality potting mixes.
Why They Work
- Lightweight
- Hold moisture without becoming waterlogged
- Resist compaction compared to topsoil
Peat Moss
- Slightly acidic
- Holds water well
- Lower cost
Coco Coir
- More sustainable
- Better drainage over time
- Resists compaction longer
Implementation Tip
Look for mixes where peat or coir is the first ingredient listed.
Maintenance Impact
Coco coir mixes typically maintain structure longer and can be reused with amendments.
2. Compost (10–30%)
Compost provides nutrients and beneficial microbes.
Why It Works
Container plants rely entirely on what you provide. Compost adds:
- Slow-release nutrients
- Organic matter
- Microbial life
Ideal Proportion
10–25% compost is ideal. Too much reduces drainage.
Cost Consideration
Premium mixes include higher-quality compost or worm castings, increasing cost but improving plant performance especially for heavy feeders like tomatoes.
3. Perlite or Vermiculite (10–30%)
These improve aeration and drainage.
Perlite
- Improves drainage
- Prevents root rot
- Ideal for most vegetables
Vermiculite
- Retains more moisture
- Better for leafy greens in hot climates
In most balcony gardens with full sun (south-facing exposure), perlite-heavy mixes prevent waterlogging.
Ideal Soil pH for Container Vegetables
Most vegetables thrive in a pH range of 6.0–6.8.
Why pH Matters
Even if nutrients are present, improper pH prevents roots from absorbing them. This leads to deficiencies like:
- Yellowing leaves (iron deficiency)
- Poor fruit development (phosphorus issues)
How to Monitor
Use a basic soil test kit at the start of each season.
USDA Zone Considerations
- Zones 8–11: Heat increases nutrient uptake and salt buildup—monitor pH annually.
- Zones 3–6: Cooler climates reduce nutrient leaching but still require seasonal testing.
Soil Depth Guidelines by Vegetable Type
Container depth determines root development and yield.
Leafy Greens (Lettuce, Spinach)
- Minimum depth: 6–8 inches
- Moderate moisture retention
- Water every 1–2 days in summer
Shallow roots mean faster drying but lower nutrient demand.
Herbs (Basil, Parsley, Cilantro)
- Depth: 8–10 inches
- Excellent drainage required
- Basil prefers consistent moisture
Overwatering herbs is a common mistake.
Root Vegetables (Carrots, Radishes)
- Depth: 10–12 inches minimum
- Soil must be loose and stone-free
Compacted soil causes misshapen roots.
Tomatoes and Peppers
- Depth: 12–18 inches
- Container size: 5–10 gallons
- Heavy feeders
Inadequate depth reduces fruit yield dramatically.
Drainage: Non-Negotiable in Containers
Even perfect soil fails without proper drainage.
Requirements
- Drainage holes at the bottom
- Elevate pots slightly
- Avoid saucers that hold standing water
Common Beginner Mistake
Adding gravel at the bottom does not improve drainage. It creates a perched water table that increases root rot risk.
Watering Frequency and Soil Performance
Container vegetables dry out faster than in-ground beds.
General Rule
- Check soil daily during hot weather.
- Water when top 1–2 inches feel dry.
South-facing balconies (6–8 hours of direct sun) require more frequent watering than east-facing spaces.
Maintenance Impact
High-quality soil with proper structure reduces overwatering risk and improves root health.
DIY Soil Mix Recipe (High-Performance Blend)
If growing multiple containers, mixing your own soil reduces cost.
Recommended Formula
- 40% coco coir or peat moss
- 30% compost
- 20% perlite
- 10% worm castings
Optional additions:
- Organic granular fertilizer
- Mycorrhizal inoculant
Why This Works
It balances drainage, nutrients, and structure for long-season crops.
Cost Comparison
DIY mixing is cost-effective for 5+ large containers. For small setups (1–2 pots), premium store mixes are simpler.
Budget vs Premium Potting Mix
Budget Mix
Pros:
- Affordable
- Accessible
Cons:
- May compact faster
- Lower nutrient content
Best for short-season crops like lettuce or radishes.
Premium Organic Mix
Pros:
- Better aeration
- Higher compost quality
- Includes beneficial microbes
Cons:
- Higher upfront cost
Best for tomatoes, peppers, cucumbers, and long-growing crops.
In small-space gardening, premium soil often produces noticeably higher yields.
Pest Prevention Begins with Soil
Healthy soil reduces stress and improves plant resilience.
Common container pests:
- Fungus gnats (caused by soggy soil)
- Aphids
- Spider mites
Prevention:
- Avoid overwatering
- Use sterile potting mix
- Ensure airflow
Fungus gnats are almost always linked to poor drainage.
When to Replace or Refresh Container Soil
Replace soil if:
- Plants had disease
- Soil smells sour
- Salt buildup is visible
Otherwise, refresh by:
- Adding compost
- Mixing in fresh perlite
- Incorporating organic fertilizer
Typically, soil should be replaced or heavily amended every 1–2 seasons.
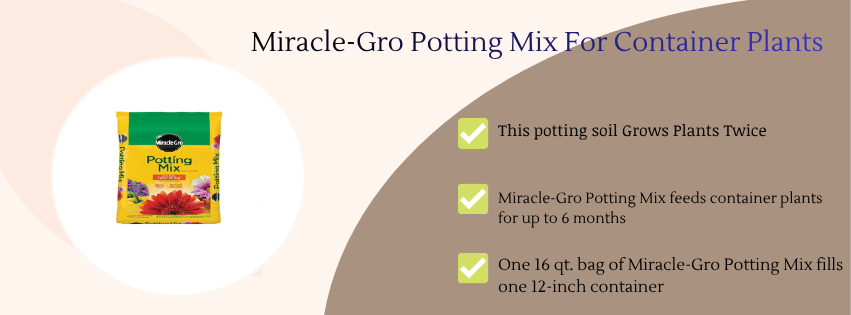
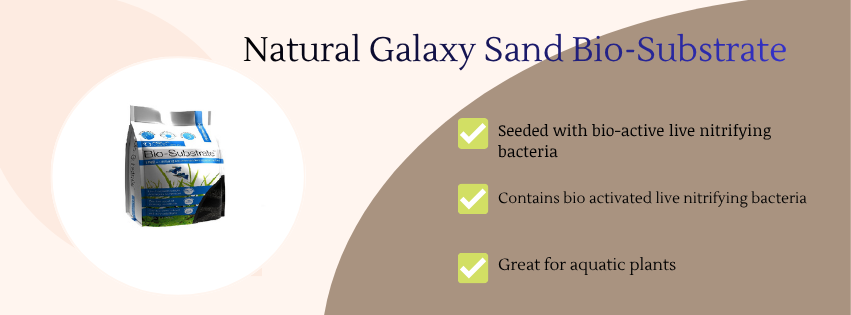
Recommended Product Categories (Buying Criteria)
Planters
- Minimum 12 inches deep for fruiting crops
- UV-resistant
- Multiple drainage holes
Fabric grow bags improve aeration but dry faster.
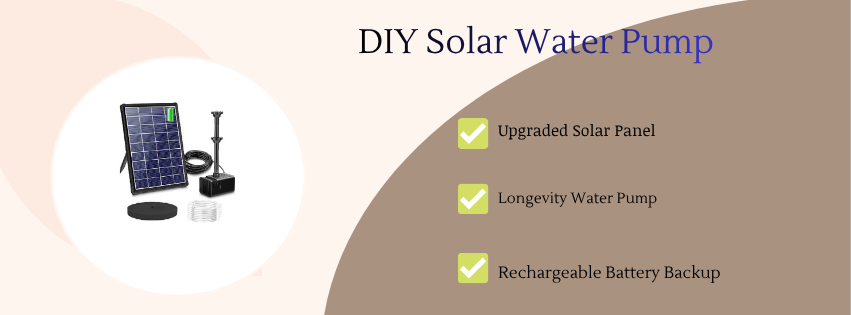
Self-Watering Containers
- Ideal for hot climates (Zones 8–11)
- Must have overflow drainage
- Monitor reservoir carefully
Reduces daily watering but requires monitoring.
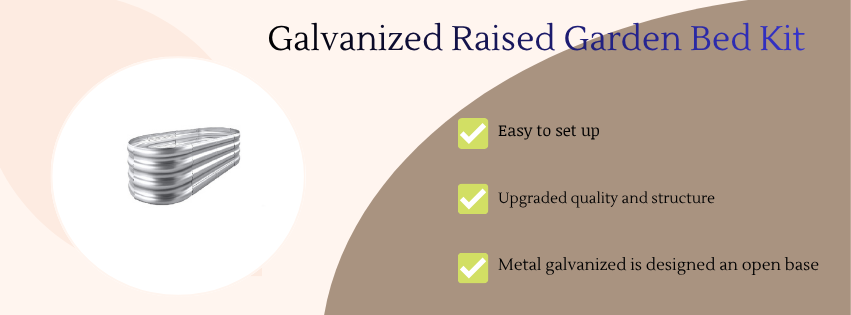
Raised Beds for Patios
- At least 10–12 inches deep
- Food-safe materials
- Good bottom drainage
Grow Lights (Indoor Use)
- Full-spectrum LED
- 12–16 hours daily
- Positioned 6–12 inches above plants
FAQ
A balanced mix of 40% peat or coco coir, 30% compost, and 20% perlite provides excellent drainage and fertility.
Can I use topsoil in containers?
No. Topsoil compacts quickly and restricts oxygen to roots.
How often should I fertilize container vegetables?
Every 2–4 weeks during the growing season unless using slow-release fertilizer.
Why are my container plants turning yellow?
Common causes include poor drainage, nutrient deficiency, or incorrect pH.
Can I reuse potting soil next year?
Yes, if plants were healthy. Refresh with compost and perlite before reuse.
Does container soil need to be organic?
Not necessarily, but organic mixes improve microbial life and long-term soil structure.
Final Thoughts
The best soil for growing vegetables in containers is lightweight, well-draining, nutrient-rich, and slightly acidic.
In small-space gardening, soil quality directly determines success. Roots have limited room, so mistakes show quickly. Invest in a proper potting mix or build your own with intention.
When your soil structure is correct, watering becomes easier, pests decrease, roots grow deeper, and harvests increase significantly.
Healthy container gardening doesn’t start with seeds—it starts with soil. Build the right foundation, and your containers will reward you season after season.