Every product is independently reviewed and selected by our editors. If you buy something through our links, we may earn an affiliate commission at no extra cost to you.
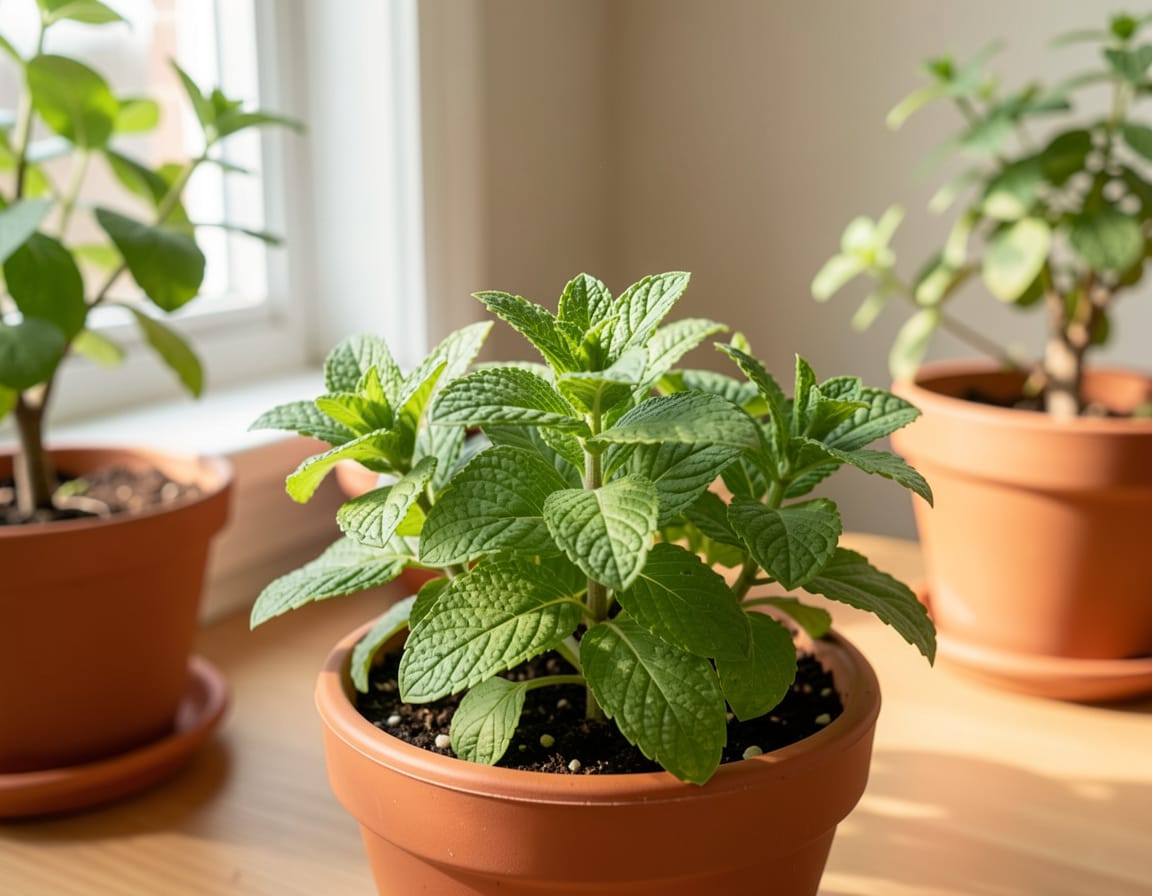
Cilantro cannot be grown from stem cuttings the way you can with basil or mint. The stems don’t contain nodes capable of producing new roots, and they collapse quickly once cut.
But you can successfully grow cilantro indoors using rooted cilantro bunches (root crowns), which is the only reliable “cutting-style” method. I’ve done this multiple times in small indoor setups, and it works surprisingly well if the roots are healthy.
Below is the simplest, beginner‑safe way to regrow cilantro indoors using roots, plus alternatives that give better long-term harvests.
Why Cilantro Won’t Grow From Regular Stem Cuttings
Cilantro isn’t built for vegetative propagation. The stems:
- Are hollow and soft
- Lack dormant rooting nodes
- Wilt quickly after harvest
- Rot in water or soil before any new growth can form
So water rooting or soil rooting stems won’t work I’ve tested both in jars, perlite, and grow lights. They always collapse within 48 hours.
The Only Method That Works: Regrowing Cilantro Indoors From Rooted Cuttings
Look for cilantro sold with roots still attached (common in Asian, Indian, and Hispanic grocery stores). These can regrow because the plant still has its root crown—the part that can send up new shoots.
This is the closest you’ll get to “propagating cilantro from cuttings.”
What You’ll Need
- Cilantro bunch with intact roots (very important)
- 4–6 inch pot with drainage holes
- Light, fluffy potting mix (compost + coco coir + perlite works well)
- Scissors
- Bright indoor spot (east window best) or small grow light
- Spray bottle for gentle watering
How to Grow Cilantro Indoors From Rooted Cuttings
1. Trim the Stems Before Planting
Cut the leafy stems down to 3–4 inches.
Why: A full, leafy top pulls moisture faster than weak, recovering roots can supply. Trimming helps the plant re-establish.
2. Prepare a Loose, Well-Drained Potting Mix
Cilantro hates compact, soggy indoor soil.
Use:
- 50% potting soil
- 30% compost
- 20% perlite
This keeps roots aerated and prevents rot (a common indoor issue).
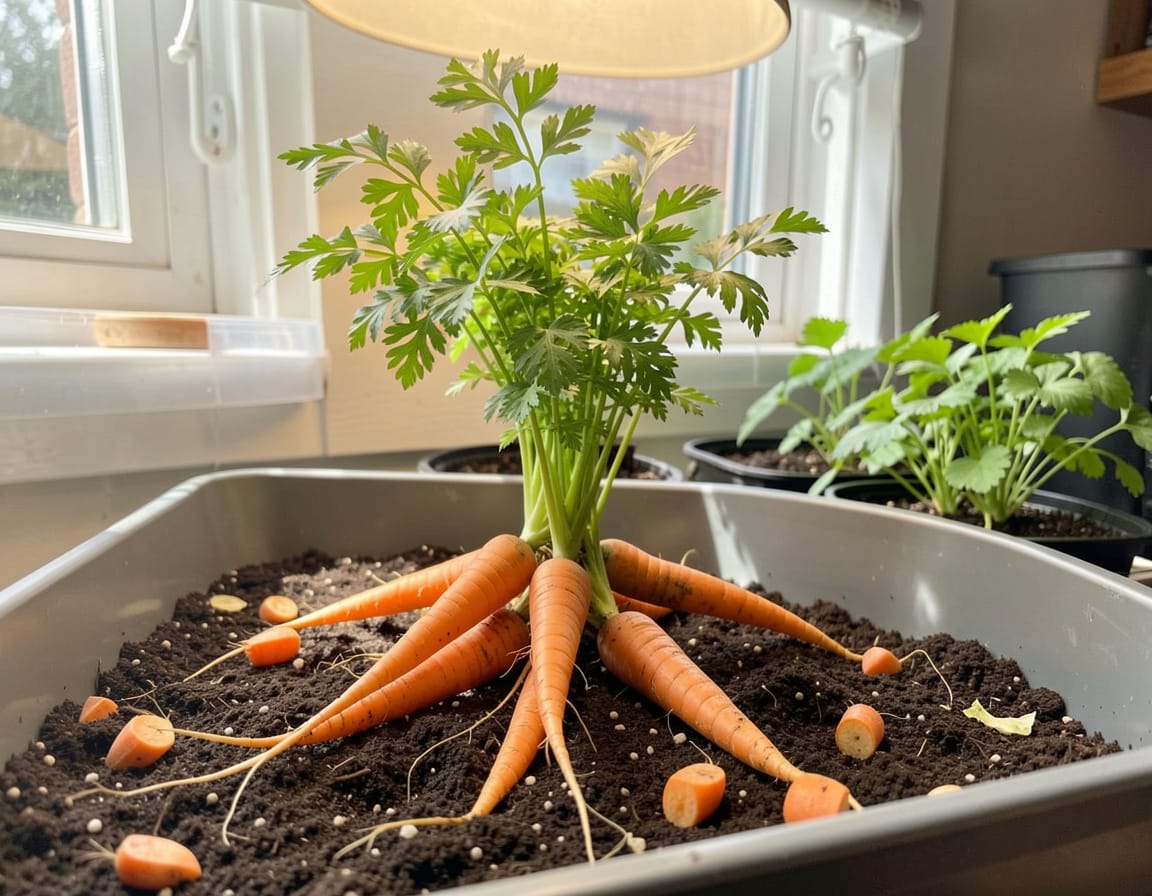
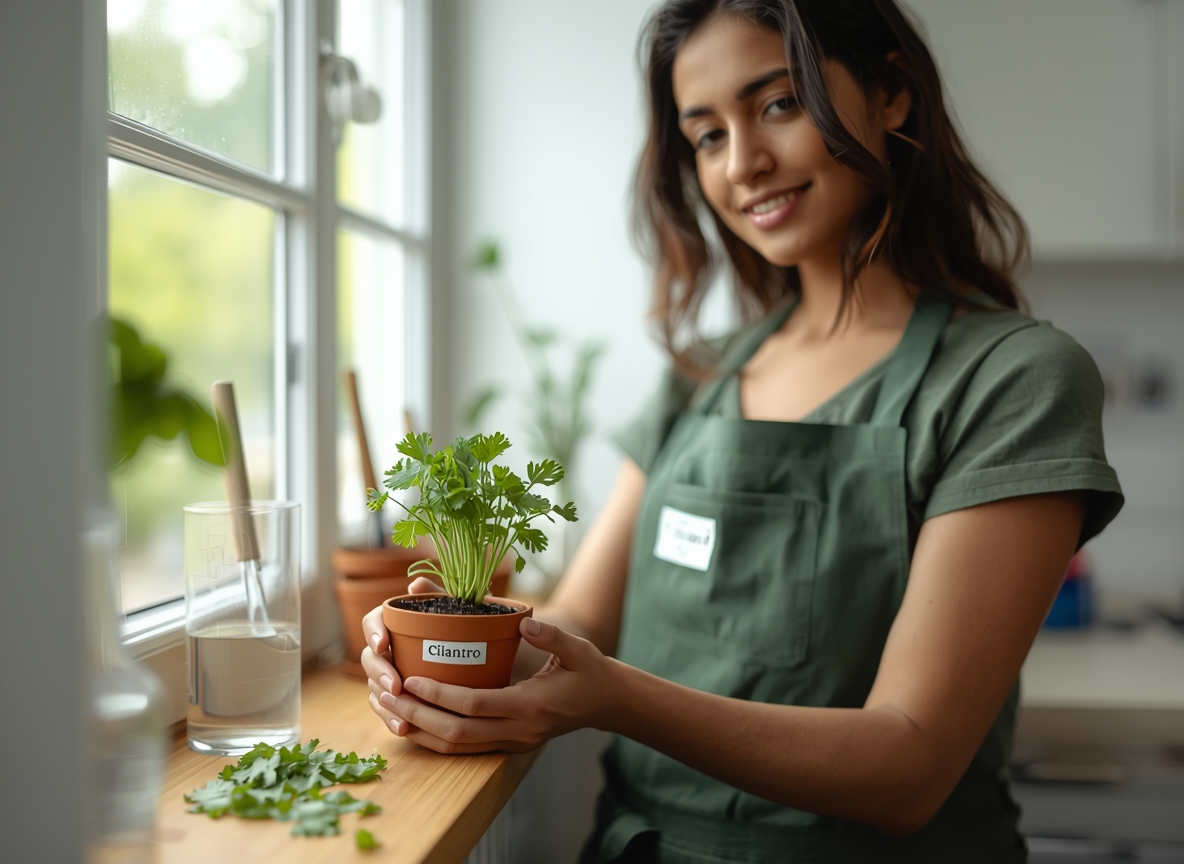
3. Plant the Roots
- Bury the root section so the crown sits just at soil level.
- Gently firm the soil don’t compress it.
- Water lightly so everything settles, but don’t drench it.
Place the pot in bright, indirect light.
4. Keep Soil Slightly Moist
Water only when the top inch feels dry.
Indoor tip from experience: Cilantro roots rot much faster indoors than outdoors. Err on the side of slightly dry, especially the first week.
5. Give It Strong Light
For indoor regrowth, cilantro needs:
- Bright east-facing light
- Or south light filtered through sheer curtains
- Or a grow light for 10–12 hours
Weak light makes it bolt quickly or grow spindly.
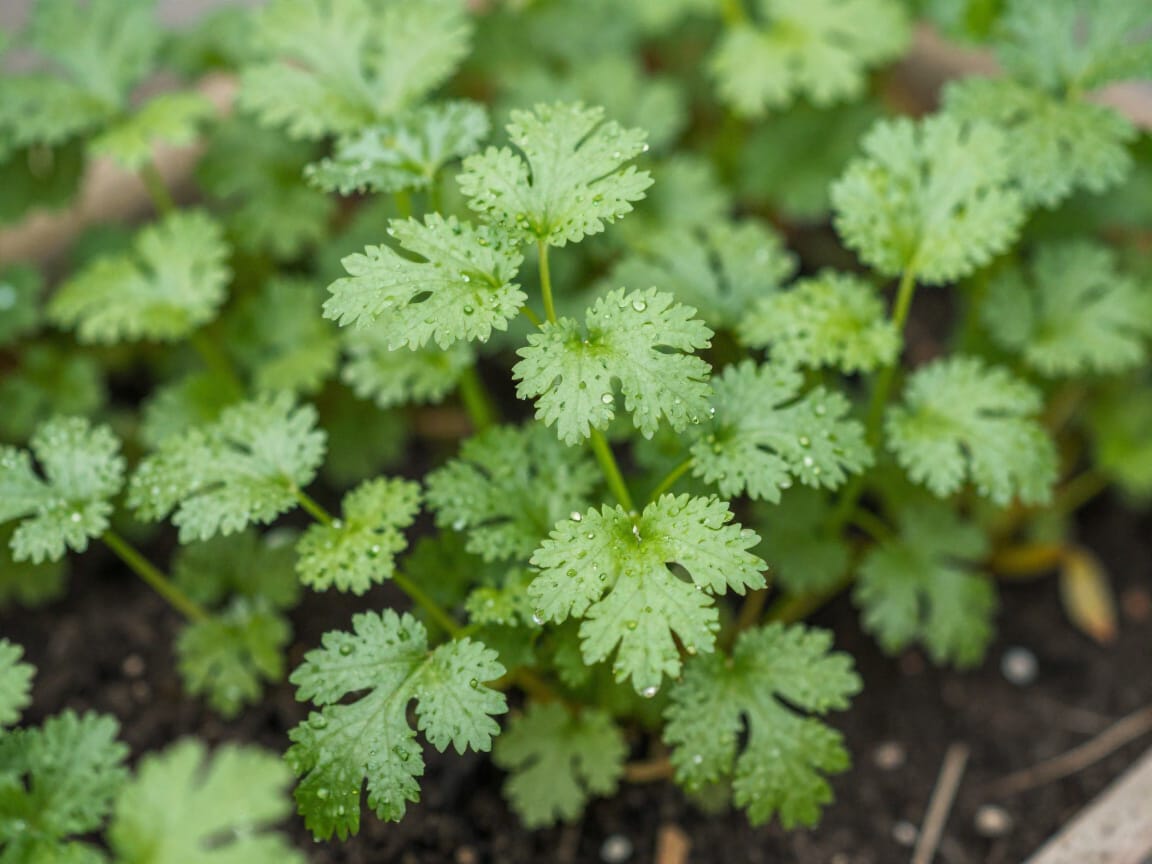
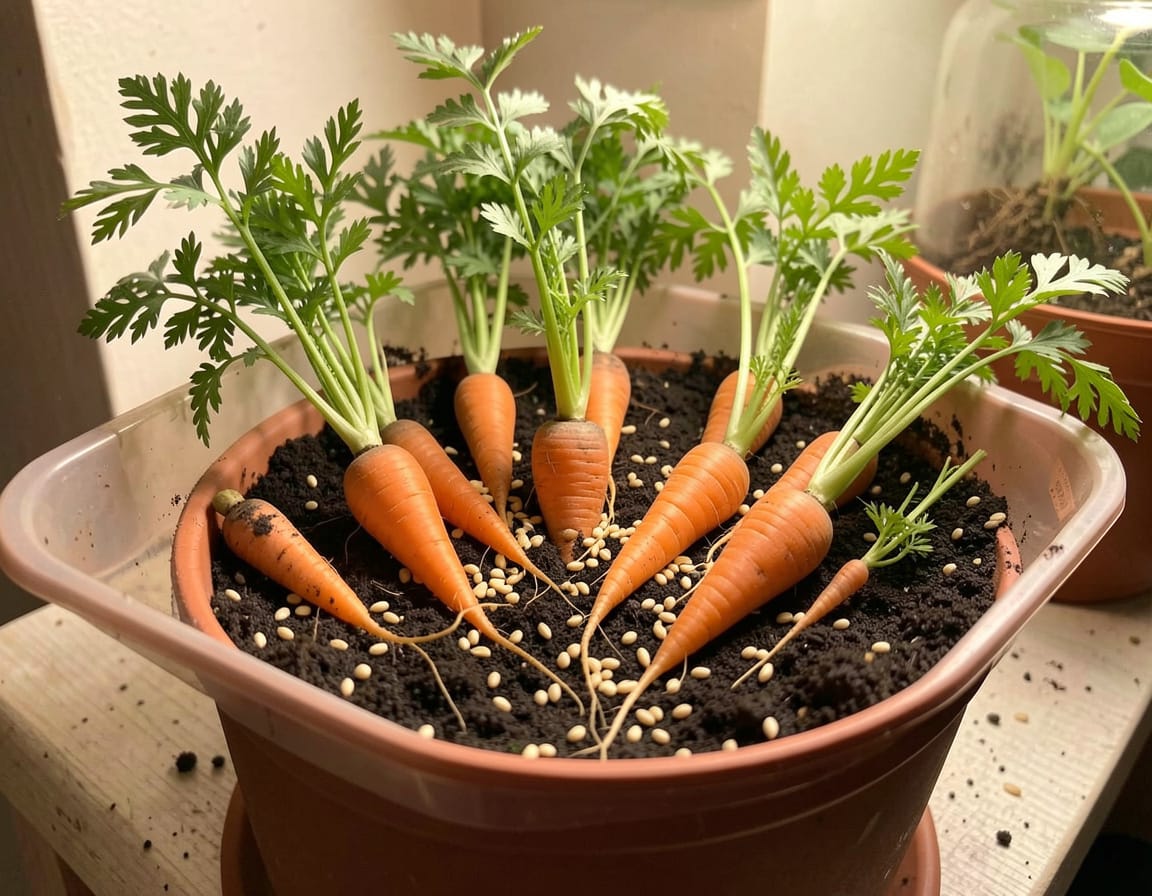
6. Wait for New Growth (7–14 Days)
Successful regrowth signs:
- New leaves forming at the crown
- Foliage deepens in color
- Stems stiffen and stand upright
If the leaves yellow or flop:
- Move closer to light
- Reduce watering
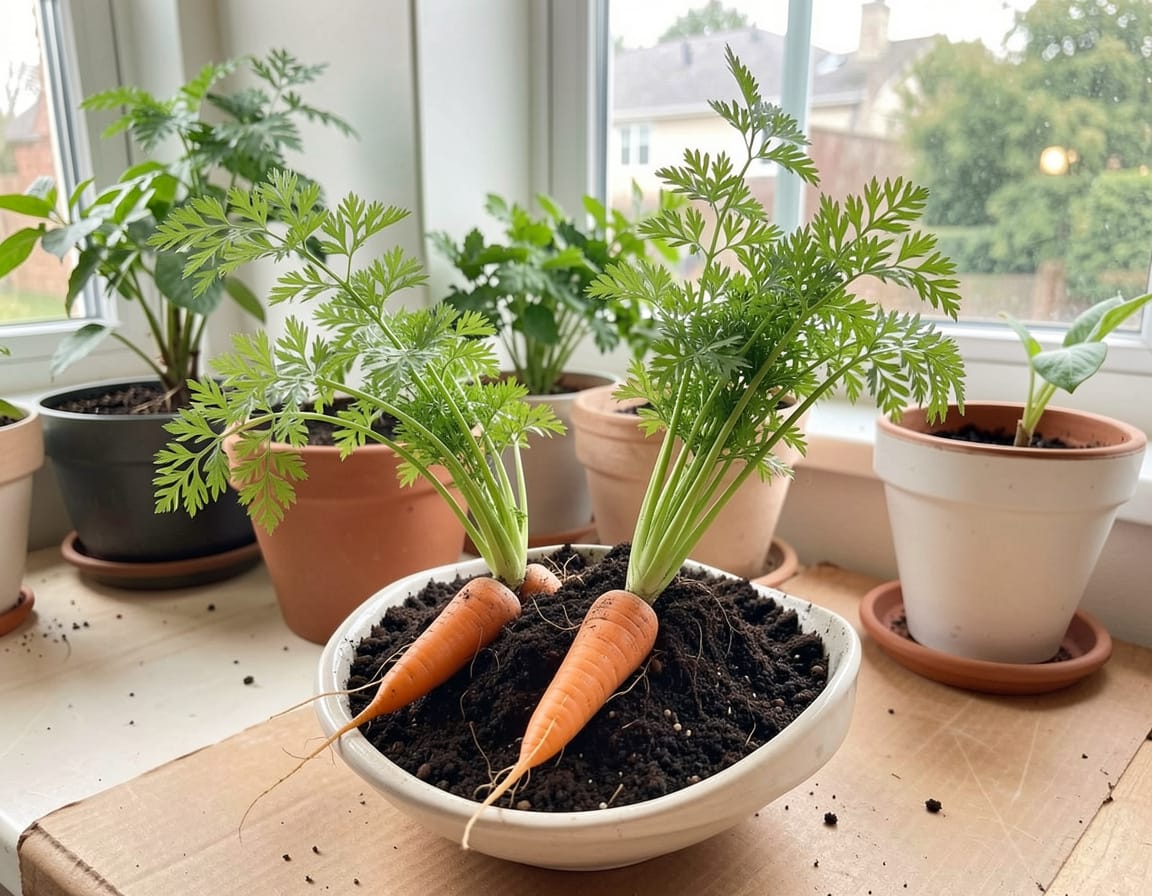
7. Harvest Lightly
Once your cilantro is 5–6 inches tall:
- Harvest outer stems only
- Leave the center to keep producing
- Don’t take more than 1/3 of the plant at once
Regrown cilantro isn’t as long-lived as seed-grown, but it’s great for a few weeks of indoor use.
Pro Tips From Hands-On Indoor Growing
- Keep the pot cool cilantro bolts in warm indoor rooms.
- Rotate weekly for even growth.
- Avoid fertilizing until new leaves appear.
- Use a fan on low for 5 minutes a day to prevent mildew.
- Never leave water sitting in a saucer root rot happens fast indoors.
Big beginner mistake: Planting cilantro roots in a warm kitchen near the stove. Instant bolting.
FAQ
Can cilantro stems root in water? No. They rot within 24–48 hours.
Will cilantro regrow from just the top stems? No. You need the roots attached.
Is regrowing cilantro indoors from roots long-lasting? Not really expect 2–4 weeks of good harvest.
Why is my cilantro bolting indoors? Too warm or not enough light.
Is growing cilantro from seed better? Yes. Seeds produce stronger, longer-lasting plants indoors.
When Not to Use This Method
Avoid this “root regrow” method if:
- You don’t have bright light
- Your indoor temps stay above 75°F
- You only have cilantro stems without roots
- You want continuous monthly harvests (seeds are better for that)
Better Alternatives for Indoor Cilantro
1. Growing Cilantro From Seed
Most reliable and productive method. Reseed every 2–3 weeks for nonstop supply.
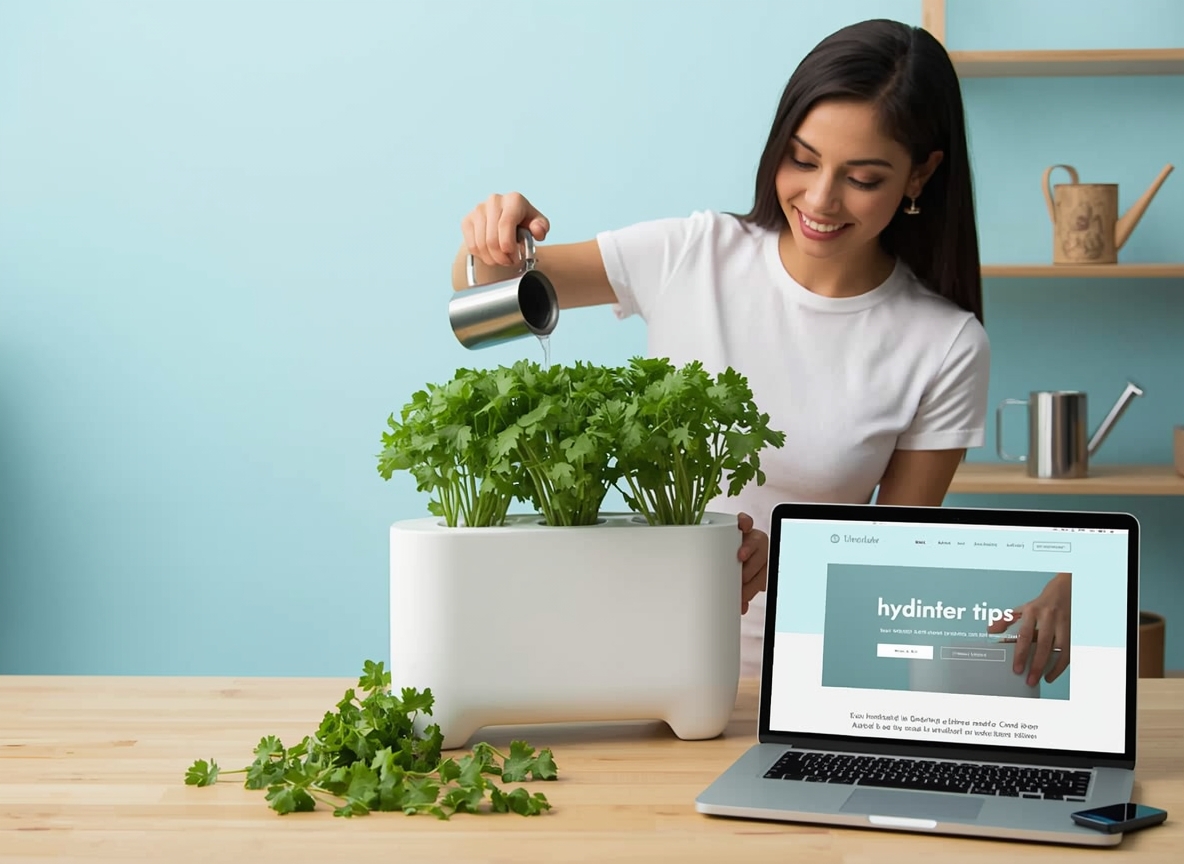
2. Hydroponic Cilantro Indoors
Clean, fast, and great for small kitchens.
3. Deep-pot Dense Sowing
Produces lush cilantro “mats” ideal for frequent cooking.
Conclusion
Growing cilantro indoors from cuttings in the traditional sense isn’t possible cilantro stems simply can’t root. But if you can get cilantro with intact roots, you can regrow it indoors for a short-term supply.
For dependable, year‑round cilantro:
- Use rooted bunches for quick regrowth
- Use seeds for steady, long-term harvests
- Keep plants cool, bright, and lightly watered
With the right indoor setup, you can enjoy fresh cilantro even without outdoor space.
If you want, I can also write:
- A full SEO-optimized long-form article
- A comparison of root regrowth vs seeds
- A step-by-step indoor cilantro growing calendar