Every product is independently reviewed and selected by our editors. If you buy something through our links, we may earn an affiliate commission at no extra cost to you.
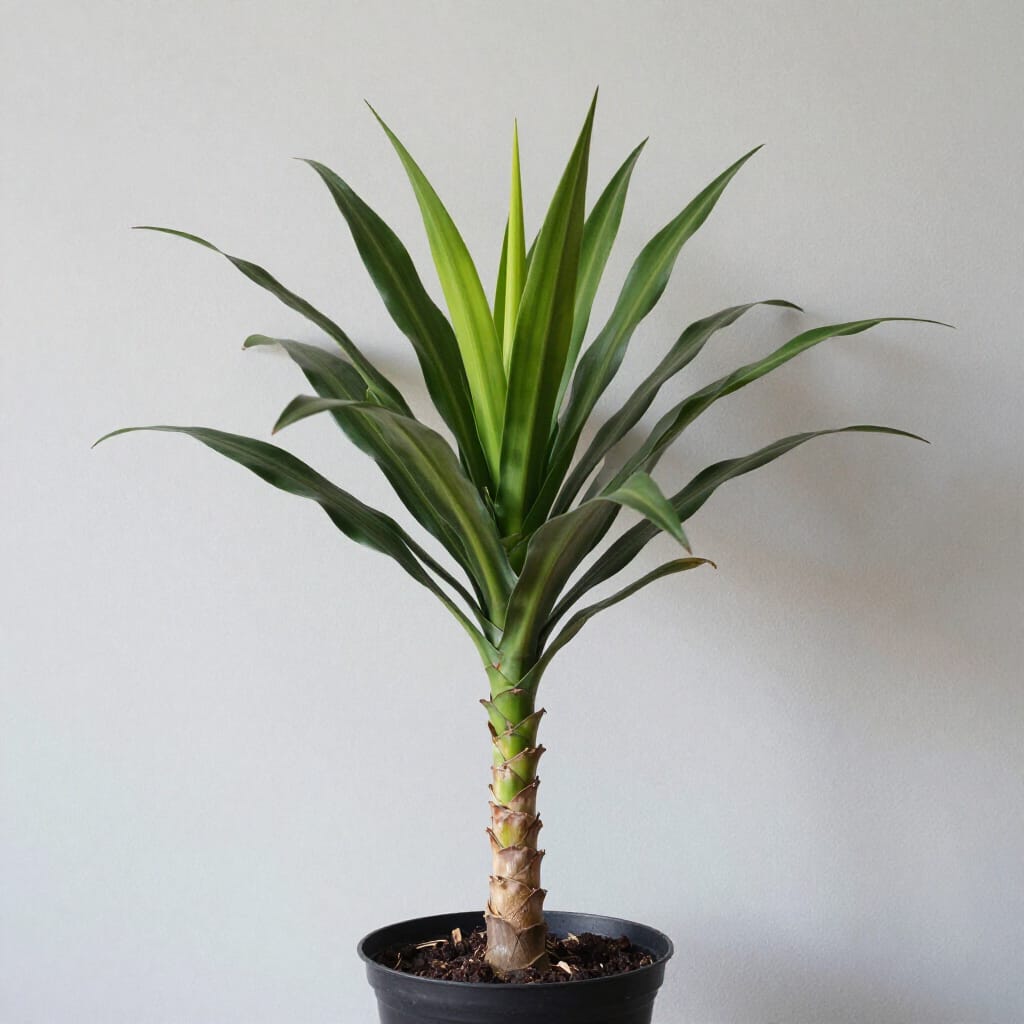
Dracaena Tornado is one of those houseplants that looks “fancy” (tight, twisting leaves, architectural shape) but is actually pretty forgiving until you try to propagate it and the cutting rots, dries out, or just sits there doing nothing.
In real home and balcony gardens, the most common frustration with Dracaena Tornado propagation is that people treat it like a pothos (stick it in a glass of water and forget it). Dracaena can root in water, but it’s slower, and the risk of mushy stems goes up if the water stays cold or stagnant. The good news: once you understand what the plant needs (warmth, bright filtered light, and a cutting that can “breathe”), propagation becomes repeatable.
This guide walks you through the most reliable methods I’ve used and recommended for small-space gardeners plus the mistakes that waste weeks.
Why Dracaena Tornado Propagation Works (Simple Plant Logic)
Dracaena grows from a cane (stem) with dormant buds along it. When you cut the cane:
- The plant redirects hormones (auxins) to the cut area.
- Dormant nodes can form roots when they’re kept warm and slightly moist (not wet).
- New shoots sprout from nodes above the cut, so one plant can become several.
What beginners often miss: dracaena is not a “constant moisture” propagator. If the cutting stays soggy, it rots before it roots. Think “lightly moist + airy + warm,” like a wrung-out sponge, not a soaked towel.
What You’ll Need (Tools + Budget-Friendly Options)
- Healthy Dracaena Tornado plant (avoid propagating a stressed plant)
- Sharp pruners or a clean knife
- Rubbing alcohol or soap + hot water (to clean tools)
- Small pots with drainage holes
- Rooting medium (choose one):
- Best beginner mix: coco coir or peat + perlite (about 50/50)
- Very reliable: perlite-only (then pot up after rooting)
- Avoid: heavy garden soil (too dense indoors; higher rot risk)
- Rooting hormone (optional but helpful) Budget alternative: cinnamon can help reduce surface fungus but doesn’t replace hormone.
- Clear plastic bag or propagation dome (optional for dry homes)
- Stakes or chopsticks (to keep a bag off the leaves)
- Clean water (if water propagating)
- Gloves (optional)
Safety note (pets + kids)
Dracaena sap can irritate skin, and dracaena is toxic to cats and dogs if chewed. Keep cuttings and fallen leaves out of reach.
Step-by-Step: Dracaena Tornado Propagation (Most Reliable Method = Stem Cuttings in Airy Mix)
This is the method I reach for when I want the highest success rate with the least transplant shock.
1) Pick the right time (timing matters)
- Best season: spring through early autumn
- Indoor timing: whenever your home is consistently 18–27°C (65–80°F) with decent daylight
- Avoid: cold, low-light winter corners (rooting stalls and rot risk rises)
2) Choose the cutting (what to cut)
Look for a cane/stem that is:
- Firm (not wrinkled or soft)
- Free of black spots or mushy areas
- Ideally pencil-thickness or thicker
Cut length: 10–20 cm (4–8 in) with at least 2–3 nodes.
Visual cue: nodes look like faint rings or bumps along the cane those are your rooting points.
3) Make a clean cut and label “top vs bottom”
- Sterilize tools.
- Cut just below a node if possible.
- Important: Dracaena cuttings can be planted upside down by mistake. I like to make the bottom cut straight and the top cut angled so I can tell them apart later.
Let the cutting sit for 30–90 minutes so the cut surface slightly calluses (especially in humid homes). This small step has saved many cuttings from turning to mush.
4) Prep the pot and mix (drainage is everything)
Use a small pot (too large stays wet too long). Fill with:
- 50% coco coir (or peat) + 50% perlite Moisten the mix, then squeeze a handful:
- Correct moisture: holds together briefly but no water drips out.
5) Plant the cutting correctly
- Dip the bottom end in rooting hormone (optional).
- Insert the cutting 2–5 cm (1–2 in) deep, ensuring at least one node is under the surface.
- Firm gently so it stands upright (don’t pack hard).
Optional: If your air is very dry (heaters/AC), place a clear bag over the pot like a mini greenhouse. Keep the plastic from touching leaves by using chopsticks as supports.
6) Place it in the right light + temperature
- Light: bright, indirect light (near a window with sheer curtain)
- Avoid: harsh direct midday sun (dehydrates cuttings fast)
- Warmth: consistent warmth speeds rooting dramatically
7) Watering schedule (the #1 rot trigger)
For the first 2–3 weeks:
- Keep mix lightly moist, not wet.
- Water only when the top 2–3 cm (1 in) feels almost dry.
A practical routine that works in many apartments:
- Check every 3–4 days; water lightly only if needed.
8) How to know it’s rooting (don’t tug too early)
Rooting usually takes 3–8 weeks depending on warmth and light.
Signs it’s working:
- The cane stays firm
- You see tiny new leaf growth or buds swelling
- Very gentle resistance if you nudge (not yank) the cutting
Once you see new growth, give it another 1–2 weeks before potting up (if you used perlite-only).
Pro Tips & Best Practices (What Helps Most in Real Homes)
Keep the cutting short and sturdy
Extra-long cuttings dehydrate faster and wobble more (wobble breaks new roots). Shorter segments root more reliably.
Don’t over-humidify in low airflow
A sealed bag in a dim corner = fungus and rot. If you use a bag:
- Vent it daily for a minute
- Keep in bright, indirect light
Use a smaller pot than you think
A big pot holds moisture too long. Dracaena roots prefer oxygen.
If the mother plant is tall and bare, top it
When you “behead” a leggy Dracaena Tornado:
- The top becomes a cutting
- The remaining cane often pushes one or more new shoots below the cut
This is one of the best ways to rejuvenate a stretched plant.
Common beginner mistakes (and how to avoid them)
- Mistake: planting in dense soil (compost-heavy, clay-ish mixes) Fix: add perlite/pumice; aim for airy.
- Mistake: keeping it constantly wet “so it roots faster” Fix: slightly moist only; let the top layer dry a bit.
- Mistake: low light Fix: brighter indirect light; consider a small grow light in winter.
- Mistake: cold windowsill at night Fix: pull it back from the glass; cold slows rooting and invites rot.
FAQ: Dracaena Tornado Propagation (Real Troubleshooting)
Why is my Dracaena Tornado cutting turning yellow or soft?
Soft/mushy = usually rot from excess moisture + low oxygen. Cut back to firm tissue with a sterile blade, let it callus, and restart in a drier, airier mix (more perlite). Make sure the pot drains.
Can I do Dracaena Tornado propagation in water?
Yes, but it’s often slower and easier to rot if the water gets stagnant or cold. If you do water propagation:
- Use a narrow, clean jar
- Submerge one node only
- Change water every 5–7 days
- Keep warm + bright indirect light When roots are 3–5 cm (1–2 in), pot into an airy mix and keep slightly moist for 1–2 weeks to transition.
How often should I water a newly propagated Dracaena?
There’s no fixed schedule go by feel. Water when the top layer is nearly dry. In most indoor setups, that’s roughly once every 5–10 days, but light, pot size, and temperature can shift it.
My cutting hasn’t rooted in 6 weeks what should I do?
Check:
- Temperature: below ~18°C/65°F slows rooting dramatically
- Light: too dim = stalled growth
- Medium: too wet or too dense If the cane is still firm, be patient and adjust conditions. If it’s wrinkling (too dry) or soft (too wet), correct moisture and consider re-cutting to fresh tissue.
Can I propagate from a leaf only?
No—Dracaena generally needs stem tissue with a node to produce roots and new shoots. A leaf alone won’t make a new plant.
When NOT to Use This Method (And What to Do Instead)
Avoid stem-cutting propagation if:
- Your home is cold and dim for weeks (winter without supplemental light)
- The mother plant is actively diseased (spreading rot/fungus)
- You only have one small plant and can’t risk stress
Safer alternative in tough conditions: wait for warmer/brighter weeks, or use a small grow light and a heat-mat-free warm spot (top of a shelf in a lived-in room often works better than windowsills).
Alternative Methods for Dracaena Tornado Propagation (Pros + Cons)
1) Air layering (highest success, lowest risk)
Best when: you want roots before you cut, or the cane is thick/valuable. How it works: you wound the cane slightly, wrap with moist sphagnum moss, and wait for roots to form before cutting below the rooted section.
- Pros: very reliable; cutting already has roots
- Cons: slower setup; needs moss and wrapping; can mold if kept too wet
2) Cane sections (multiple babies from one stem)
Cut a long cane into 5–10 cm (2–4 in) sections and lay horizontally on mix with nodes touching the medium.
- Pros: makes several plants from one stem
- Cons: easier to mix up orientation; sections can rot if too wet
3) Water propagation (easy to watch, but transitional)
- Pros: simple; fun to monitor roots
- Cons: higher rot risk; water-roots can struggle when moved to soil unless you transition carefully
Conclusion
Successful Dracaena Tornado propagation comes down to a few practical rules: use a healthy cane with nodes, let the cut end callus briefly, root in an airy medium, keep it warm and in bright indirect light, and resist the urge to overwater. Most failures I see (and have personally learned from) trace back to soggy mix, cold nights, or dim placement.
Take it slow, keep conditions steady, and don’t judge progress week-to-week dracaena often looks “inactive” right up until it suddenly pushes a new bud. With a little patience, you’ll end up with a sturdier plant and the confidence to propagate again without turning your cutting into compost.
If you tell me your setup (indoor temperature range, window direction, and whether you want water or soil propagation), I can recommend the best method and an exact aftercare routine for your conditions.