Every product is independently reviewed and selected by our editors. If you buy something through our links, we may earn an affiliate commission at no extra cost to you.
If you’ve ever bought a bunch of supermarket mint only to watch it wilt in a day or two, you’re not alone. Mint is one of the easiest herbs to root, yet many beginners struggle with soft, droopy stems or cuttings that rot before they grow roots.
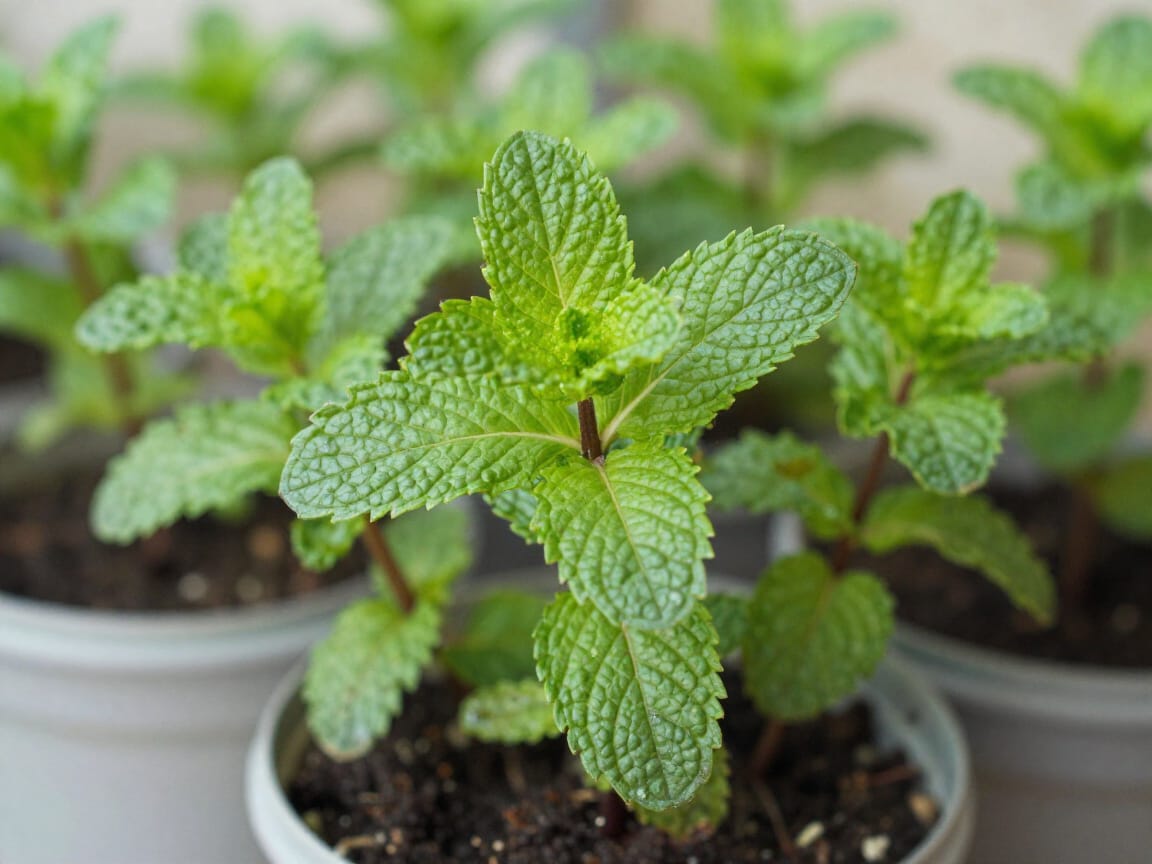
In real home gardens and especially on windowsills mint behaves differently than it does outdoors. Indoor light is weaker, humidity fluctuates, and soil stays wet longer. After growing mint in small apartments, balcony gardens, and a shaded backyard for years, I’ve found that cuttings are the most reliable way to start a thriving indoor mint plant.
The good news: once you understand what mint needs, rooting cuttings indoors is quick, clean, and very cost‑effective.
This guide walks you through each step with clear, practical instructions you can use immediately.
Why Growing Mint Indoors From Cuttings Works So Well
Mint is naturally vigorous and genetically “programmed” to spread. From a horticultural standpoint:
- Mint stems contain nodes packed with dormant root cells. When those nodes touch moisture, they activate and form new roots.
- Unlike many herbs, mint doesn’t mind being propagated in water or soil—it usually roots within 5–10 days.
- Cuttings skip the slow seed stage. You get a clone of a healthy plant that’s already adapted to your kitchen climate or indoor conditions.
In my own indoor setups, cuttings outperform seeds every time, especially during cooler months when germination is slow.
What You’ll Need
You don’t need special equipment. A basic kitchen windowsill setup works perfectly.
- Fresh mint stems (from your garden or a grocery-store bunch)
- Clean scissors or pruners
- Glass jar or cup (for water rooting)
- Small pot with drainage holes (for soil rooting)
- Potting mix (light, well-draining; I prefer an indoor houseplant mix)
- Optional: Organic rooting hormone (not essential for mint)
- Sunny indoor spot (east- or south-facing window)
- Spray bottle for gentle watering
Eco-friendly options:
- Reuse glass jars as propagation vessels
- Mix your own potting soil with compost + coco coir + perlite
How to Grow Mint Indoors From Cuttings: Step-by-Step
Step 1: Select the Right Mint Stems
Choose stems that are:
- 4–6 inches long
- Healthy and upright
- Free from pests (mint aphids love hiding under leaves)
Avoid old, woody stems young, flexible ones root fastest.
Step 2: Make a Clean Cut
Cut the stem right below a node (the bump where leaves grow). Nodes are where new roots will form.
Remove the bottom 2–3 sets of leaves so no foliage sits in water or soil. Leaves below the water line almost always rot indoors.
Step 3: Decide on a Rooting Method
Mint roots well in water or soil. Here’s how to choose:
Water rooting:
- Easiest for beginners
- Fast visual feedback (you see the roots!)
- Best for cool apartments or winter months
Soil rooting:
- Transplant shock‑free
- Roots develop stronger and faster
- Best for warm, bright indoor spaces
Step 4A: How to Root Mint Cuttings in Water
- Fill a glass with room-temperature water.
- Place cuttings so only the bare nodes are submerged.
- Set the jar in bright, indirect light (not harsh window sun).
- Replace water every 2–3 days to prevent slime buildup.
- Roots usually appear within 5–7 days.
Rooting tip: Indoors, water warms up quickly on sunny windowsills warm water speeds rot. I keep mine slightly back from direct light.
Step 4B: How to Root Mint Cuttings in Soil
- Fill a small pot with slightly damp potting mix.
- Insert cuttings so 1–2 nodes are buried.
- Firm the soil lightly with your fingers.
- Place a clear plastic bag loosely over the pot to maintain humidity (ventilate daily).
- Keep the pot in bright, indirect light.
- Water gently when the top inch feels dry.
In my experience, soil-grown cuttings establish faster and grow thicker stems.
Step 5: Transplanting Rooted Cuttings
If you rooted in water:
- Wait until roots are at least 1–2 inches long
- Plant gently into a pot filled with moist soil
- Water lightly and keep shaded for 48 hours to reduce stress
Pot size: Start small (4–6 inch pot). Mint explodes quickly and outgrows large pots indoors if given too much root room early on.
Step 6: Give Your New Mint the Right Indoor Conditions
Mint prefers:
- Bright, indirect sunlight (4–6 hours daily)
- Cool to moderate temperatures (60–75°F)
- Regular watering but never soggy soil
- Occasional trimming to encourage bushy growth
If stems grow thin or pale, the plant wants more light.
Pro Tips & Best Practices
- Rotate pots weekly so stems don’t lean toward the window.
- Water from the bottom to keep leaves dry and fungal issues minimal.
- Pinch off the growing tips every few weeks to encourage branching.
- Avoid keeping mint right above a heater dry heat stresses it quickly.
- If cuttings droop after transplanting, mist lightly and shade for a day.
Common beginner mistake: Overwatering. Indoor soil stays wet much longer than outdoor beds, especially in winter.
Frequently Asked Questions
1. How long does it take for mint cuttings to root indoors? Usually 5–10 days in water and 4–7 days in soil if light and temperature are good.
2. Why are my mint cuttings turning black or mushy? This usually means they were kept in direct sun or the water wasn’t changed often, causing stem rot.
3. Can I grow mint indoors year-round from cuttings? Yes mint is one of the few herbs that stays productive indoors even in winter, as long as you have bright light.
4. Should I use fertilizer on new mint cuttings? Not immediately. Wait 3–4 weeks, then use a diluted organic liquid fertilizer once a month.
5. Can I root mint cuttings under grow lights? Absolutely. LED grow lights produce strong, compact growth. Just keep the lights 6–10 inches above the plant.
6. Is grocery-store mint good for cuttings? Yes. As long as stems are fresh and not woody, they root beautifully.
When NOT to Use This Method
Growing mint indoors from cuttings may not be ideal if:
- You have very low-light rooms (mint becomes leggy and pale)
- Your tap water is highly chlorinated (cuttings may stall)
- Your indoor air is extremely dry (cuttings may wilt without humidity)
Safer alternatives include:
- Using filtered or rested water
- Rooting under grow lights
- Keeping a humidity dome over soil cuttings
Alternative Methods
Growing mint from seed Pros: Cheap Cons: Slow, uneven germination, weak winter growth
Buying a nursery mint plant Pros: Instant harvest Cons: Often root-bound, may carry pests, expensive for beginners
Root division (if you already have an outdoor mint patch) Pros: Very strong established plants Cons: Dirtier, not always beginner-friendly indoors
For indoor gardeners, cuttings are the sweet spot: fast, clean, reliable.
Conclusion
Learning how to grow mint indoors from cuttings is one of the simplest, most satisfying skills for home gardeners. With a few healthy stems, a jar of water, and a bright windowsill, you can grow a steady supply of fresh mint year-round without buying new plants.
Start with just a few cuttings, pay attention to light and moisture, and let the plant tell you what it needs. In a couple of weeks, you’ll have a thriving indoor mint plant ready for teas, salads, and everyday cooking.
Happy growing and enjoy the fresh mint aroma filling your home!