Every product is independently reviewed and selected by our editors. If you buy something through our links, we may earn an affiliate commission at no extra cost to you.
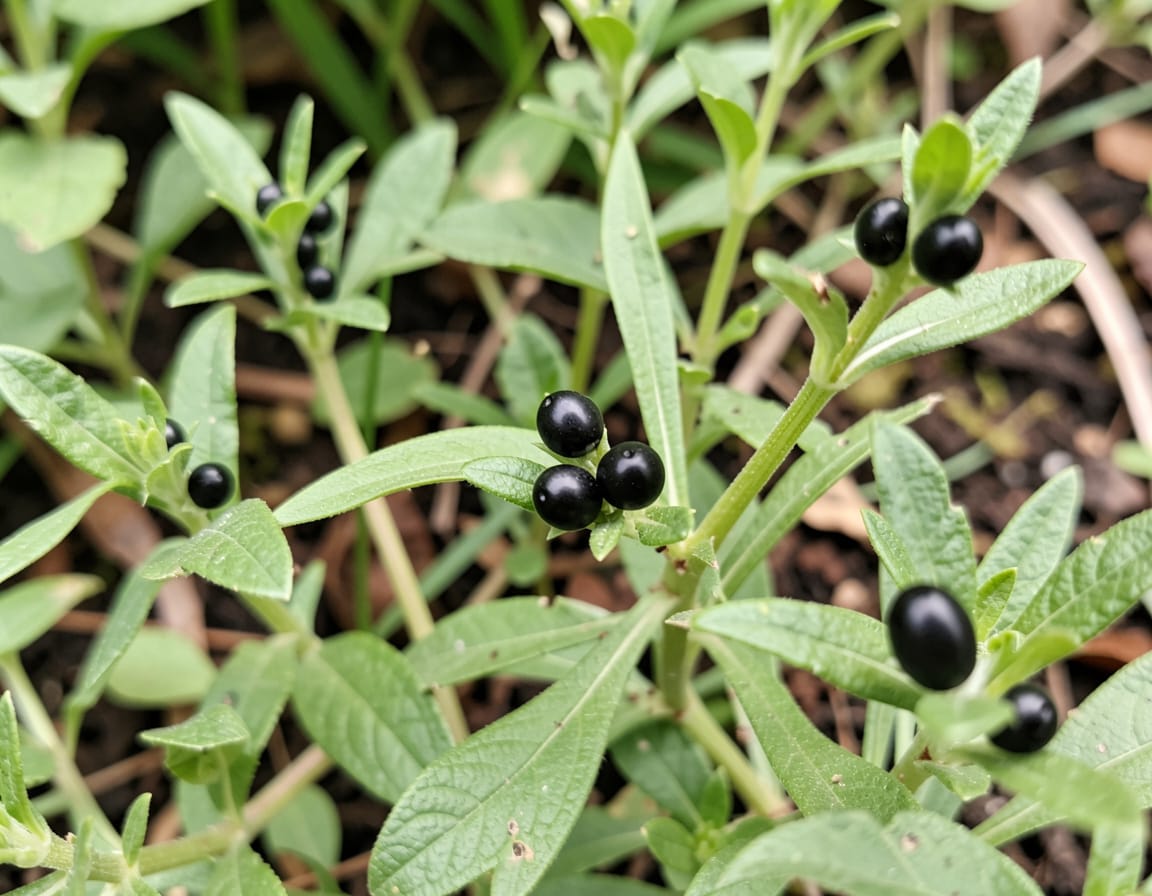
If you’ve spotted little black eggs on your plants, you’re not alone. I first noticed them years ago on the underside of my terrace-garden pepper leaves tiny dark specks that didn’t brush off easily. Within a week, I was dealing with curled leaves and sap-sucking pests I could’ve prevented with faster identification.
Those “eggs” almost never belong to beneficial insects. In most home gardens, they’re early signs of pest infestation, and catching them early prevents weeks of cleanup.
This guide gives you a simple, real-gardener explanation of what they are, how to confirm which pest you’re dealing with, and the safest way to remove and prevent them.
Why Little Black Eggs Appear on Plants
In small home gardens, black specks on leaves usually fall into three categories:
- Insect eggs – usually from stink bugs, squash bugs, aphids (yes—sometimes they appear very dark), flea beetles, or leaf-footed bugs.
- Insect droppings (frass) – especially from caterpillars, leafrollers, or thrips.
- Fungal spores – mostly sooty mold growing on honeydew left by sap-sucking pests.
In real gardens, all three look similar at a glance. The trick is learning the tiny differences so you don’t panic or ignore a real infestation.
Why This Method Works
Identifying the black specks correctly works because:
• Insect eggs stay stuck to the leaf, while frags (droppings) often brushes off. • Egg clusters follow patterns straight lines, symmetrical clusters, or specific leaf locations. • Fungal spots smear lightly, especially if moisture is present. • Most harmful insects lay eggs on the underside of leaves, where humidity stays higher.
Once you know which type you’re dealing with, choosing the right treatment becomes simple and fast.
What You’ll Need
Most of this requires everyday garden gear:
• Hand lens or phone camera (zoom helps a lot) • Mild insecticidal soap (or homemade: 1 teaspoon liquid soap per quart of water) • Neem oil or horticultural oil • Gloves (for squashing eggs) • Soft cloth or cotton pads • Rubbing alcohol (for stubborn scale eggs) • A bowl of soapy water (to dunk pests or egg clusters)
Eco-safe alternatives: • Diluted neem (cold-pressed) • Soft-bristle toothbrush for stubborn egg masses • Water spray bottle
Step-by-Step: How to Identify What the Black “Eggs” Really Are
1. Check the location
• Under leaves: usually stink bugs, squash bugs, aphids, thrips, or scale. • On stems: often scale insects. • On soil surface: usually fungus gnat eggs or frass.
2. Test whether they smear, brush off, or stay stuck
• Smear = fungal spores or mold. • Brush off = droppings (frass). • Stay firmly attached = eggs.
3. Look for patterns
• Neat clusters → stink bugs or squash bugs. • Tiny, pepper-like dots in groups → aphid eggs or thrips. • Single hard bumps → scale eggs or juvenile scale.
4. Examine surrounding plant symptoms
• Sticky leaves = sap-sucking pests (aphids, mealybugs). • Curling leaves = aphids or thrips. • Holes in leaves = caterpillars or beetles. • Yellow stippling = spider mites (eggs are pale, but frass looks dark).
Step-by-Step: How to Remove Black Eggs Safely
1. Remove by hand (works best for home gardeners)
Morning is ideal the dew softens egg masses. • Use gloves and gently pinch or scrape the eggs off. • Drop them into a bowl of soapy water.
2. Wash the plant
• Spray undersides of leaves with a sharp water stream. • This dislodges thrips, aphids, and spider-mite clusters.
3. Apply insecticidal soap
Good for soft-bodied pests: • aphids • thrips • young scale • whiteflies
Spray every 4–5 days until eggs no longer appear.
4. Use neem oil for persistent clusters
Neem disrupts insect reproduction and works best in the evening to avoid leaf burn.
5. Prune heavily infested leaves
If an entire leaf is covered: • Remove it. • Throw it in the trash not compost to avoid spreading pests.
Pro Tips & Best Practices
• Always check the underside of leaves during routine watering—pests choose the shady, humid side. • Avoid over-fertilizing young, soft growth attracts egg-laying insects. • Good airflow prevents fungal spots that resemble eggs. • Don’t rely on one treatment egg cycles repeat every 3–7 days for most pests. • Quarantine new plants for at least a week; many infestations start with nursery stock.
FAQ
Why are the black eggs mostly under the leaves?
Moisture stays higher underneath the leaf, and predators like ladybugs patrol the upper surfaces more often.
Can black insect eggs spread to my other plants?
Yes especially aphids, thrips, and scale. That’s why early removal matters.
Are black eggs dangerous for pets or kids?
Most plant pests aren’t harmful, but avoid letting pets ingest leaves sprayed with neem or soaps.
Do I need chemicals to remove them?
Not usually. Hand removal + insecticidal soap + neem solves 95% of cases in home gardens.
Will black eggs kill my plant?
They can weaken it. Sap-suckers cause stunted growth; caterpillars defoliate quickly. Early action prevents long-term damage.
What if the black dots wipe off easily?
They are likely frass (droppings), meaning a chewing pest is present even if you don’t see it yet.
When NOT to Use This Approach
Avoid neem and soap sprays when:
• Temperatures exceed 85°F (risk of leaf burn). • The plant is drought-stressed. • You’re dealing with fungal spores, not insect eggs treatment differs.
For fungus, use: • Improved airflow • Watering at soil level • Removing honeydew-producing pests (aphids, whiteflies)
Alternative Methods or Solutions
Sticky Traps
Good for fungus gnats and thrips, but won’t stop eggs already on leaves.
Biological Controls
Ladybugs, lacewings, and parasitic wasps all reduce egg-laying pests naturally.
Kaolin Clay
Creates a physical barrier on leaves that discourages egg laying on fruit trees or squash.
Choose the method based on the pest you identify. For beginners, hand removal + soap spray is easiest.
Conclusion
If you’ve been wondering what are the little black eggs on my plants, the answer is usually early signs of pests aphids, stink bugs, scale, thrips, or caterpillars. The good news? Once you learn to spot the patterns, removing them becomes quick and manageable.
Inspect leaves regularly, act early, and keep your garden’s airflow and watering habits consistent. With a little patience and gentle, eco-safe treatment, your plants bounce back faster than most beginners expect.
If you’d like, I can help you identify the exact pest just upload a photo of the leaves.