Every product is independently reviewed and selected by our editors. If you buy something through our links, we may earn an affiliate commission at no extra cost to you.
Growing mushrooms in a bag is one of the simplest and most space-efficient ways to produce your own organic mushrooms at home. I’ve walked many homeowners and apartment dwellers through this process because it works beautifully in small U.S. spaces basements, closets, garages, or shaded kitchen corners. The key is maintaining the right balance of moisture, cleanliness, and temperature.
Below is a full, step-by-step guide based on what I use in real-world home setups.
How to Grow Mushrooms in a Bag Step by Step
1. Choose the Right Mushroom Type
Different mushrooms prefer slightly different growing conditions. For beginners, I always recommend fast, forgiving species that fruit easily in bag culture.
| Mushroom Type | Skill Level | Temperature Range | Notes |
| Oyster (Pleurotus spp.) | Easiest | 55–75°F | Very forgiving; grows on straw, sawdust, or coffee grounds. |
| Lion’s Mane (Hericium erinaceus) | Moderate | 60–70°F | Unique texture, requires more humidity. |
| Shiitake (Lentinula edodes) | Moderate | 60–75°F | Delicious but slower; prefers hardwood sawdust. |
| Enoki (Flammulina velutipes) | Advanced | 45–60°F | Needs cooler temps and more control. |
If this is your first try, start with oyster mushrooms they’re fast, resilient, and high-yielding.

2. Gather Your Supplies
You can buy a ready-to-fruit mushroom grow bag (the simplest option), or make your own from scratch.
| Item | Purpose | Organic / Sustainability Notes |
| Spawn (mushroom seed) | The living mycelium that colonizes your substrate. | Buy from reputable U.S. suppliers; avoid old or dried spawn. |
| Substrate (straw, sawdust, coffee grounds, or coco coir mix) | Food source for mycelium. | Use clean, additive-free materials. |
| Filter grow bag or plastic bag | Holds substrate and lets CO₂ escape. | Reusable mushroom grow bags are ideal; avoid thin, single-use plastics. |
| Large pot or bucket | Sterilizing substrate. | Any non-reactive container works. |
| Hydrated lime or boiling water | Pasteurizing substrate to kill competing organisms. | Keeps the project chemical-free. |
| Spray bottle | For misting humidity. | Use filtered or dechlorinated water. |
3. Prepare the Substrate
Your substrate needs to be clean and moist—not dripping wet—to give the mushroom mycelium a head start over other microbes.
If using straw (best for oysters):
- Chop straw into 2–3 inch pieces.
- Soak in hot water (160–170°F) for 1 hour to pasteurize.
- Drain thoroughly; it should feel damp but not soggy (think like a wrung-out sponge).
If using sawdust or coffee grounds:
- Mix 5 parts sawdust to 1 part bran, and moisten until it clumps lightly in your hand.
- Pasteurize by steaming or baking (170°F for 1 hour).
Avoid using untreated garden soil because it’s full of competing bacteria and molds.
4. Inoculate the Bag
Once the substrate cools to room temperature:
- Work cleanly. Wipe down your surface with rubbing alcohol or vinegar. Wash your hands.
- Mix the mushroom spawn evenly into the substrate (usually about 1 cup of spawn per 5 pounds of substrate).
- Fill your bag two-thirds full.
- Compress the substrate gently to remove large air pockets.
- Seal the bag with a twist tie or heat sealer, leaving any built-in filter patch uncovered for air exchange.
5. Incubation (Colonization Phase)
Now the mycelium needs time to grow through the substrate.
- Place: A dark or dimly lit spot around 70°F (like a closet or cupboard).
- Duration: 2–3 weeks for oysters; up to 8 weeks for shiitake.
- Goal: The substrate turns white as the mycelium colonizes it.
Check periodically: If you see green, black, or orange mold, that means contamination discard and start over with cleaner handling or better-pasteurized substrate.
6. Fruiting Stage (Encouraging Mushrooms to Grow)
Once the bag is fully white (colonized), it’s time to trigger mushroom growth. This stage requires fresh air, moisture, and indirect light.
- Move the bag to a cooler (60–70°F), brighter area with gentle airflow.
- Cut small slits or “X” openings in the sides of the bag where mushrooms can emerge.
- Mist the area 2–3 times daily with clean water or use a small humidity tent (a clear plastic tote with holes works well).
- Maintain high humidity (85–95%) and moderate light (not direct sun).
Within 5–10 days, you should see tiny “pins” (baby mushrooms) forming at the holes.
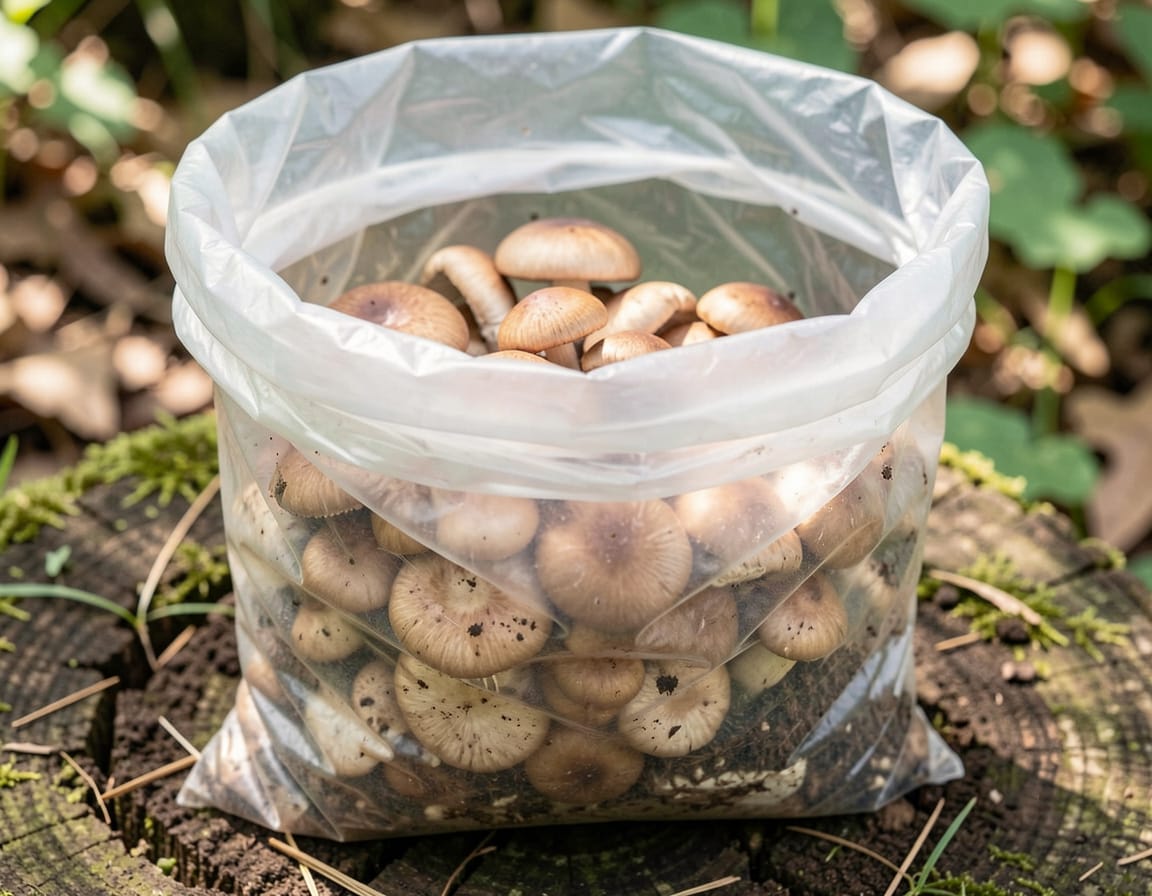
7. Harvesting
Harvest when mushrooms are fully expanded but before edges curl upward.
- For oysters: typically 7–10 days after pinning.
- Cut or twist gently at the base to avoid damaging the block.
- Don’t let mature mushrooms drop spores inside this can slow future flushes.
Most bags produce 2–3 flushes (harvests) before nutrients deplete.
8. Aftercare and Sustainability
- After the final flush, compost the spent substrate it’s excellent for garden soil enrichment.
- Clean the bag with vinegar, air-dry, and you can reuse it for a new batch.
- Rotate species or substrates to keep things interesting and sustainable coffee grounds, sawdust, or straw all work in different combinations.
9. Common Issues and How to Fix Them
| Problem | Cause | Fix |
| Green mold (Trichoderma) | Poor hygiene or under-pasteurized substrate | Improve sterilization; use fresh spawn. |
| No mushrooms forming | Not enough humidity or fresh air | Increase misting and ventilation. |
| Drying out | Bag placed near drafts or heater | Cover with humidity tent or move location. |
| Long, leggy mushrooms | Too little light or airflow | Add indirect light and open bag slightly. |
10. Realistic Example
A renter in Seattle I worked with successfully grew oyster mushrooms on pasteurized straw inside a reusable 5-pound grow bag kept under her kitchen counter. She misted twice daily and harvested her first flush in just 21 days. The second flush produced nearly a pound of mushrooms all organic and chemical-free.
Quick Summary
| Step | Key Action | Timeframe |
| 1 | Choose mushroom type | — |
| 2 | Prepare substrate | 1 day |
| 3 | Inoculate bag | 1 hour |
| 4 | Incubate | 2–6 weeks |
| 5 | Fruiting | 1–2 weeks |
| 6 | Harvest | As caps mature |
| 7 | Compost and reuse | After 2–3 flushes |
Final Thoughts
Growing mushrooms in a bag is clean, compact, and rewarding even if you only have a small apartment or shaded backyard shed. The key is moisture control and cleanliness: pasteurize your substrate properly, keep your hands and tools clean, and maintain steady humidity once fruiting starts.
Start with oyster mushrooms, get a feel for their rhythm, and you’ll find this is one of the easiest ways to bring a living, edible ecosystem into your organic home routine.