Every product is independently reviewed and selected by our editors. If you buy something through our links, we may earn an affiliate commission at no extra cost to you.
As someone who’s helped hundreds of U.S. homeowners and renters design and optimize small and large greenhouses, I can tell you this: space efficiency is everything. Whether you’re working with a compact backyard kit, a lean-to greenhouse attached to a home, or a full-sized freestanding structure, knowing how to maximize space in a greenhouse determines how well your plants grow and how enjoyable it is to work inside.
In this article, I’ll walk you through real-world, practical strategies for organizing, planting, and designing your greenhouse for maximum productivity without compromising airflow, light, or aesthetics.
Why Greenhouse Space Optimization Matters
A well-planned greenhouse isn’t just tidy it’s healthier, more sustainable, and more rewarding to use. Here’s why efficient space design matters:
- Better Plant Health: Proper spacing prevents diseases by improving airflow and light penetration.
- Higher Yields: Vertical and staggered layouts allow you to grow more plants without crowding.
- Ease of Maintenance: Organized layouts reduce watering errors, pest hiding spots, and wasted time.
- Resource Efficiency: Smart shelving and container choices conserve water, soil, and energy.
- Sustainability: By maximizing space, you can grow more food or ornamentals locally, cutting down on store-bought produce and floral waste.
In short, maximizing greenhouse space means more growth, less stress both for you and your plants.
Step 1: Plan Before You Build or Rearrange
Most space issues start from poor layout planning. Whether you’re starting from scratch or reworking an existing setup:
- Sketch your floor plan. Mark doorways, vents, and fixed structures.
- Identify the “light zones.” In most U.S. regions, south- and west-facing sections get the strongest light. Reserve these for sun-loving plants.
- Keep access paths clear. Leave at least 18–24 inches for walking space.
- Think vertical from the start. Leave headroom above walkways for hanging planters or trellis crops.
I often recommend thinking of your greenhouse in zones:
- Propagation Zone (seedlings, trays)
- Growth Zone (mature plants, edibles)
- Storage Zone (tools, soil, watering cans)
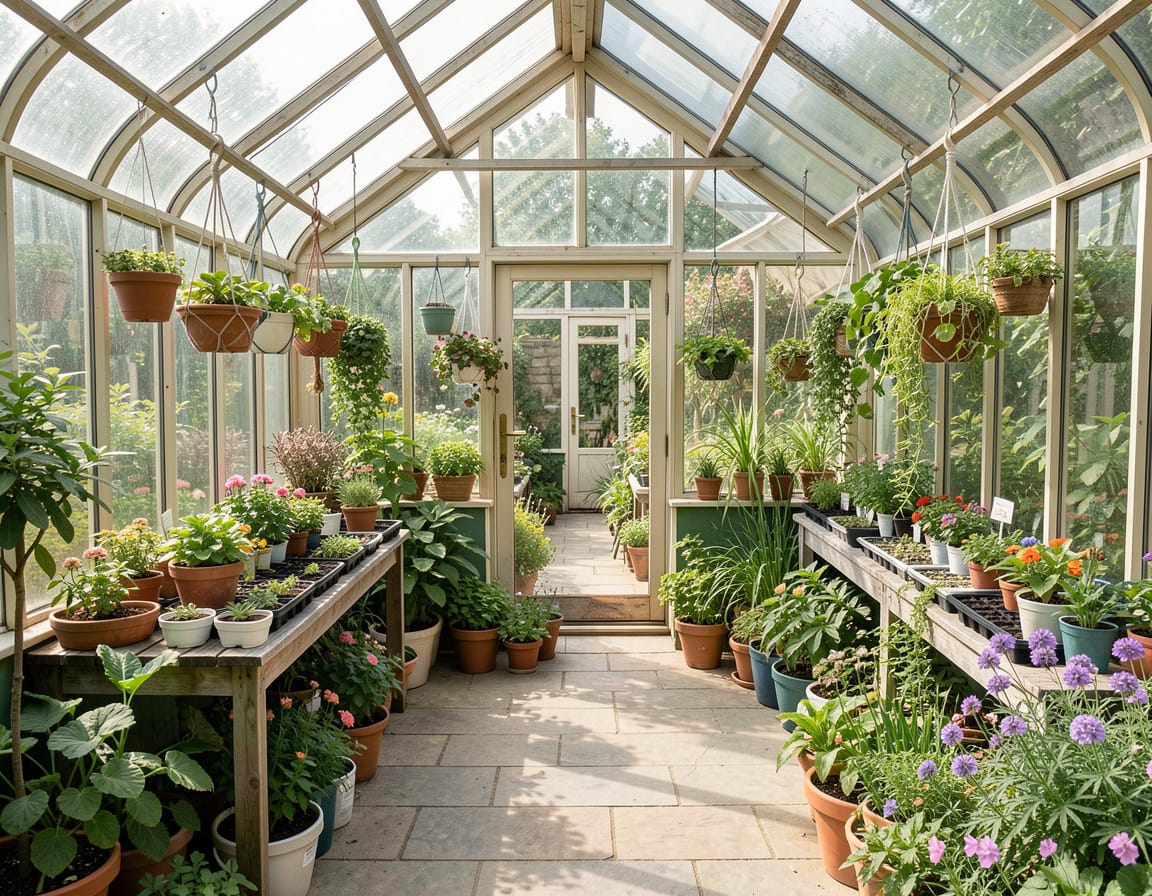
Step 2: Use Vertical Space Intelligently
The single biggest mistake I see especially in suburban and urban setups is underutilized height. Here’s how to fix that:
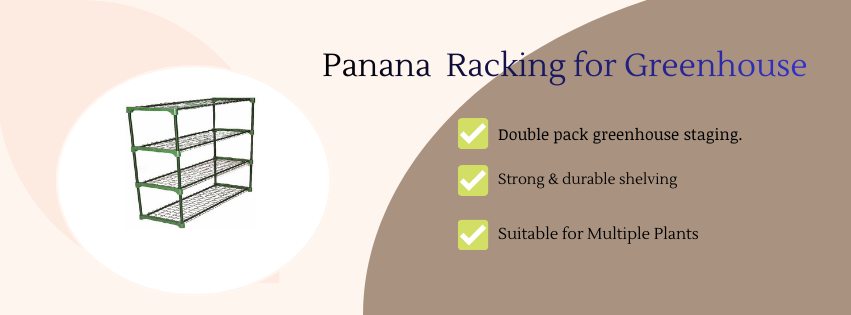
Shelving
Install multi-tiered shelving along one or both sides of the greenhouse. Choose slatted or mesh shelves to promote airflow and drainage. Use taller units on the north side to minimize shading of lower plants.
Hanging Systems
Hang lightweight pots, baskets, or hydroponic units from ceiling supports. I often use sturdy S-hooks or mesh grids suspended from rafters. Ideal for herbs, strawberries, or trailing ornamentals.
Vertical Planters & Wall Racks
Attach modular planting panels or recycled pallet planters to wall frames. Perfect for compact herbs or leafy greens. Make sure water doesn’t drip onto lower plants install drip trays or a simple gutter catch.
Step 3: Choose Efficient Containers
Container shape and size dramatically affect how much you can grow per square foot.
- Square or rectangular pots use space more efficiently than round ones.
- Stackable planting trays let you rotate crops easily.
- Self-watering planters reduce clutter from watering cans and trays.
- Fabric grow bags can be nestled close together and folded when not in use.
For renters who need portability, lightweight grow bags or nested crates are ideal for seasonal moves.
Step 4: Create Multi-Functional Surfaces
Whenever possible, design surfaces that serve more than one purpose.
- A fold-down potting bench can double as an extra shelf.
- Under-bench storage bins can hold soil mixes or watering supplies.
- A rolling cart can serve as a movable propagation table.
I built a custom cedar bench for one client in Oregon top tier for plants, bottom tier for compost buckets, and a pull-out work surface for transplanting. It saved eight square feet of floor space instantly.
Step 5: Go Up, Not Out-Trellising and Layering
Many fruiting plants (tomatoes, cucumbers, peas, beans) thrive when grown vertically.
- Use string trellises, stake systems, or bamboo teepees attached to shelves or the greenhouse frame.
- Layer shorter crops (like basil or lettuce) beneath taller vines to maximize photosynthesis.
- Keep vines pruned and trained to prevent light blockage.
This kind of layering mimics how plants grow in natural ecosystems maximizing every inch of space and light.
Step 6: Rotate and Sequence Crops Seasonally
Greenhouse efficiency is about time as well as space. Rotate crops through different growth phases to keep production steady year-round.
Example seasonal rotation (for temperate U.S. climates):
- Winter: cold-tolerant greens, microgreens, herbs.
- Spring: seedlings, early tomatoes, peppers.
- Summer: fruiting crops, herbs, vertical beans.
- Fall: root crops, lettuce, kale.
By planning your plant schedule, you’ll prevent empty shelves and keep nutrients cycling efficiently.
Step 7: Improve Light and Air Distribution
Even the best shelving layout fails without balanced light and ventilation.
Light:
- Clean glazing panels monthly to remove dust and algae.
- Use reflective surfaces (like white-painted walls or aluminum panels) to bounce sunlight into shaded corners.
- For northern regions, consider LED grow lights on adjustable mounts energy-efficient and controllable.
Air:
- Keep vents and fans unobstructed.
- Ensure air circulates behind and under shelving.
- In humid areas, a small oscillating fan prevents fungal buildup.
Step 8: Streamline Tools and Supplies
Clutter eats space and air circulation.
- Mount garden tools on vertical pegboards.
- Store soil, compost, and amendments in stackable bins with tight lids.
- Use foldable watering cans or collapsible hoses if space is tight.
- Keep only one of each essential item inside; store bulk supplies outside or in a shed.
One of my clients in a small California greenhouse cut clutter by 40% simply by hanging pruning tools, gloves, and spray bottles on a door-mounted organizer.
Step 9: Incorporate Modular or Moveable Elements
If you live in a seasonal climate or rent your home, mobility is key.
- Choose rolling shelving units or casters under benches.
- Install foldable trays for seedlings that can be removed when not in use.
- Use clip-on lights and fans instead of fixed installations.
This flexibility makes your greenhouse adaptable to changing seasons or even a new home.
Step 10: Maintain Cleanliness and Order
A tidy greenhouse always feels larger than a cluttered one.
- Set a weekly routine to sweep, wipe surfaces, and consolidate supplies.
- Compost dead leaves immediately instead of letting them pile up.
- Reassess your layout every quarter plants grow and so should your space plan.
Common Mistakes That Waste Space
- Overcrowding plants: Creates shading, humidity buildup, and disease spread.
- Neglecting vertical potential: Forgetting to use height for hanging or trellising.
- Solid shelving: Blocks airflow and light to lower levels.
- Ignoring access paths: Narrow aisles make maintenance miserable.
- Keeping unused supplies indoors: Every square foot matters store bulk items outside.
Regional and Home-Specific Tips
Small Urban Greenhouses or Balconies
Use narrow tiered shelving and wall-mounted planters. Stick to compact, high-yield crops like herbs, lettuce, and cherry tomatoes.
Suburban Backyards
Modular benches and mixed-height shelving work best for diverse crops. Leave space for compost bins or a rainwater barrel nearby.
Northern U.S. Regions
Light reflection is critical paint back walls white and keep glass spotless. Stack plants vertically to catch every bit of winter sunlight.
Southern or Coastal Areas
Shade cloth and proper ventilation are crucial. Use vertical trellises to keep foliage off the hot ground surface.
Rentals or Temporary Setups
Favor lightweight, freestanding units that can be disassembled. Avoid drilling or concrete anchoring; use modular clips or clamps instead.
Extra Expert Tips to Maximize Greenhouse Space
- Use corner shelves: Corners are often wasted, yet perfect for herbs or propagation trays.
- Install a ceiling pulley rack: Hang baskets or tools overhead without blocking light.
- Grow in stages: Keep younger plants on upper warmer shelves, mature ones below.
- Double-tier your hydroponic or seedling shelves: Stack trays under LED strips.
- Keep a visual inventory: Each month, note which plants underperform and replace them with higher-yield or compact varieties.
FAQ: How to Maximize Space in a Greenhouse
Q1: What’s the best way to increase greenhouse capacity without rebuilding? Add vertical shelving and hanging planters. You can often double your growing area without expanding the footprint.
Q2: How close can I space plants without overcrowding? Leave enough space for airflow generally, plant leaves shouldn’t touch. Small herbs can be 4–6 inches apart; larger vegetables need 12–18 inches.
Q3: Can I use walls or ceilings for growing? Absolutely. Wall-mounted planters, vertical hydro units, and ceiling baskets make excellent use of underused areas.
Q4: How do I keep a small greenhouse from feeling cluttered? Stick to a consistent organization system. Label plants, hang tools, and clean weekly. A tidy space feels and functions much larger.
Q5: Does shelving block sunlight for lower plants? It can if you use solid materials. Opt for slatted wood, wire racks, or mesh shelves so light passes through.
Q6: What’s the best greenhouse layout for beginners? A single central aisle with shelving on both sides works well for most 6×8 or 8×10 models. Keep taller plants or trellised crops on the side that receives the least direct light.
Q7: Are there sustainable ways to add storage? Yes—use reclaimed wood, bamboo, or recycled-metal shelves rather than plastic. These materials last longer and reduce off-gassing inside the greenhouse.
Conclusion: A Thoughtful Layout Is the True Secret to Space
Learning how to maximize space in a greenhouse isn’t just about fitting more plants it’s about creating a balanced, breathable, and efficient environment. When you plan vertically, reduce clutter, and choose sustainable materials, you’ll discover that even a modest greenhouse can produce an impressive and steady supply of fresh food or greenery.
In my experience, the greenhouses that thrive year after year aren’t the biggest they’re the best organized. Start small, think vertically, and design every shelf, pot, and path with purpose. Your plants (and your back) will thank you.