Every product is independently reviewed and selected by our editors. If you buy something through our links, we may earn an affiliate commission at no extra cost to you.
Introduction
Learning how to start seeds indoors for beginners is one of the most empowering steps toward a truly organic home and garden. Growing from seed not only saves money but also gives you full control over what goes into your soil, your air, and eventually, your food. As someone who has helped hundreds of U.S. homeowners and renters build thriving indoor seed setups from small apartment windowsills to dedicated grow shelves I can tell you that success depends less on expensive gear and more on good habits, observation, and patience.
Starting seeds indoors supports:
- Health & Indoor Air Quality: It avoids the chemical residues often found on nursery plants treated with synthetic pesticides or fertilizers.
- Mental Well-being: Nurturing seedlings through their early stages is a proven way to reduce stress and bring daily joy.
- Sustainability: Growing your own organic plants reduces packaging waste, transportation emissions, and pesticide use.
- A Calming, Toxin-Free Space: Organic seed starting materials like compost-based soils, untreated wood trays, and natural fiber pots create an environment that’s safer for you and your home.
Whether you’re preparing for a backyard garden or just want to start culinary herbs on your kitchen counter, this guide will walk you through every step, tool, and routine needed for a truly organic seed-starting setup.
Everyday Organic Seed Starting Routine
Starting seeds indoors is less about fancy systems and more about consistent care. I tell my clients to treat seedlings like babies they thrive on gentle attention and stability.
Step-by-Step Daily or Weekly Seedling Care
- Daylight & Warmth Check
- Place trays where they get 12–14 hours of light daily. A bright south-facing window works, but in most U.S. homes, supplemental full-spectrum grow lights are more reliable.
- Maintain a temperature between 65–75°F for most vegetables and herbs.
- Moisture Monitoring
- Mist or bottom-water as soon as the soil surface looks dry. Never let seedlings sit in water soggy roots invite rot.
- A humidity dome helps early germination but remove it once seedlings sprout to prevent fungus.
- Air Circulation
- A small fan on low helps strengthen stems and prevent mold. Even in apartments, a desktop fan is usually enough.
- Observation Habit
- Check seedlings daily for signs of stress yellowing, legginess, or fungus gnats. Early action prevents problems from spreading.
- Feeding Schedule
- Once seedlings have two sets of “true leaves,” feed them weekly with a diluted organic liquid fertilizer (like fish emulsion or kelp extract).
What You’ll Need
Below is a simple, sustainable checklist I use when setting up clients for indoor seed starting.
| Item | Why It’s Used | Organic / Health Benefits | Sustainability Considerations |
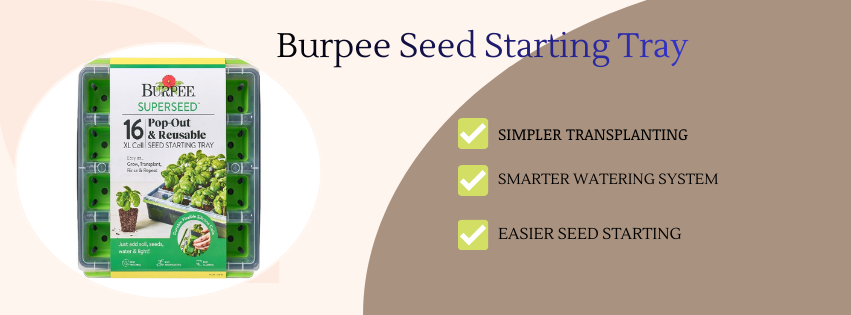
| Seed Trays or Pots | Hold soil and seeds securely. | Avoids plastic contamination if you choose biodegradable options. | Choose compostable pots (coir, peat-free fiber, paper). |
| Organic Seed Starting Mix | Provides a light, sterile medium for germination. | Free of synthetic fertilizers and pesticides. | Look for peat-free mixes; coconut coir or compost-based options are better for ecosystems. |
| Grow Lights (LED Full Spectrum) | Provides consistent light for germination and growth. | Mimics sunlight without UV risk. | Energy efficient; long-lasting LEDs reduce waste. |
| Heating Mat (Optional) | Speeds up germination for warmth-loving plants. | Keeps temperatures stable without chemical growth stimulants. | Choose one with an energy-saving thermostat. |
| Organic Seeds | The foundation of chemical-free gardening. | Ensures plants are not genetically modified or chemically treated. | Purchase from certified organic U.S. seed companies that prioritize biodiversity. |
| Spray Bottle & Watering Can | Provides gentle watering. | Prevents soil compaction and fungal growth. | Use stainless steel or recycled plastic options for durability. |
Deep Organic Setup or Seasonal Refresh
Even the best indoor seed starting setup benefits from periodic refreshes, especially if you reuse materials year to year.
1. Pre-Season Setup
- Clean and Sanitize Naturally: Use a vinegar-water solution (1:1) to clean trays and tools before reuse. Avoid bleach it kills beneficial microbes.
- Prepare Fresh Mix: Always start with fresh organic seed-starting mix; old soil harbors fungal spores.
- Plan Light Timing: Use a timer for 14 hours of light per day, with a nightly rest period to mimic natural cycles.
2. Mid-Season Refresh
If you stagger plantings (for example, starting herbs first, then peppers), recondition your setup by:
- Brushing off old soil residue.
- Replacing any warped biodegradable pots.
- Wiping grow light covers for maximum efficiency.
3. End-of-Season Storage
- Compost used soil. Don’t reuse it for next year’s seeds disease risk is too high.
- Stack trays in a dry, ventilated area.
- Coil cords neatly and inspect LED bulbs for next season.
Prevention & Sustainability Tips
- Avoid Synthetic Décor and Finishes
- Many “garden décor” pieces contain PVC or chemical dyes that off-gas indoors. Use untreated wood, unglazed clay pots, or upcycled glass jars instead.
- Prevent Plant Stress
- Light stress is the biggest seedling killer in homes. Keep lights close (2–3 inches above the canopy) and raise them as seedlings grow.
- Reduce Waste
- Reuse trays, but compost pots and soil. Save seed envelopes for next year store them in airtight jars with silica packs.
- Maintain Long-Term Organic Beauty
- Once seedlings move outdoors or to larger pots, transition them gradually an abrupt move from indoor light to full sun can scorch leaves.
Common Mistakes to Avoid
1. Buying “Eco-Friendly” Kits That Aren’t
Many commercial seed-starting kits labeled “eco” contain peat moss or cheap plastic trays. Peat harvesting damages wetlands, and plastic trays often crack after one season. Invest once in durable, renewable materials.
2. Overwatering
This is the most common beginner mistake. Seedlings prefer evenly moist not wet soil. Excess water suffocates roots and invites damping-off fungus.
3. Poor Light Positioning
Seedlings that stretch and fall over aren’t “weak” they’re reaching for light. Keep lights no more than 3 inches away, and rotate trays if using window light.
4. Using Garden Soil Indoors
Outdoor soil compacts and harbors pests. Always use a sterile, organic seed mix indoors.
5. Neglecting Airflow
Still air leads to fungal problems. Even a gentle breeze toughens stems and keeps disease at bay.
Local U.S. Home Context
- Small Apartments & Rentals: Use vertical shelving units with built-in lighting. Many of my urban clients in New York and Chicago germinate everything from greens to tomatoes this way.
- Suburban Homes: A basement or sunroom often works best consistent temperatures and space for grow trays.
- Seasonal Variations: In northern climates, start seeds 6–8 weeks before the last frost. In southern climates, consider seed starting for fall crops indoors during the hottest months.
- Limited Natural Light: Invest in energy-efficient LED panels. They use a fraction of the electricity of older fluorescent bulbs.
- Balcony Gardeners: Start seeds indoors, then harden them off on your balcony once temperatures stay above 55°F at night.
Extra Expert Tips
- Budget-Friendly Organic Upgrades:
- Use egg cartons or paper cups as starter pots just poke drainage holes.
- Old bakery clamshells make perfect humidity domes.
- Low-Maintenance Strategies:
- Sow densely, then thin later; it’s easier than trying to germinate sparse seeds.
- Choose forgiving crops like basil, lettuce, or marigolds for your first round.
- Long-Term Sustainability Hacks:
- Install a small indoor compost pail to recycle plant scraps and seedling debris.
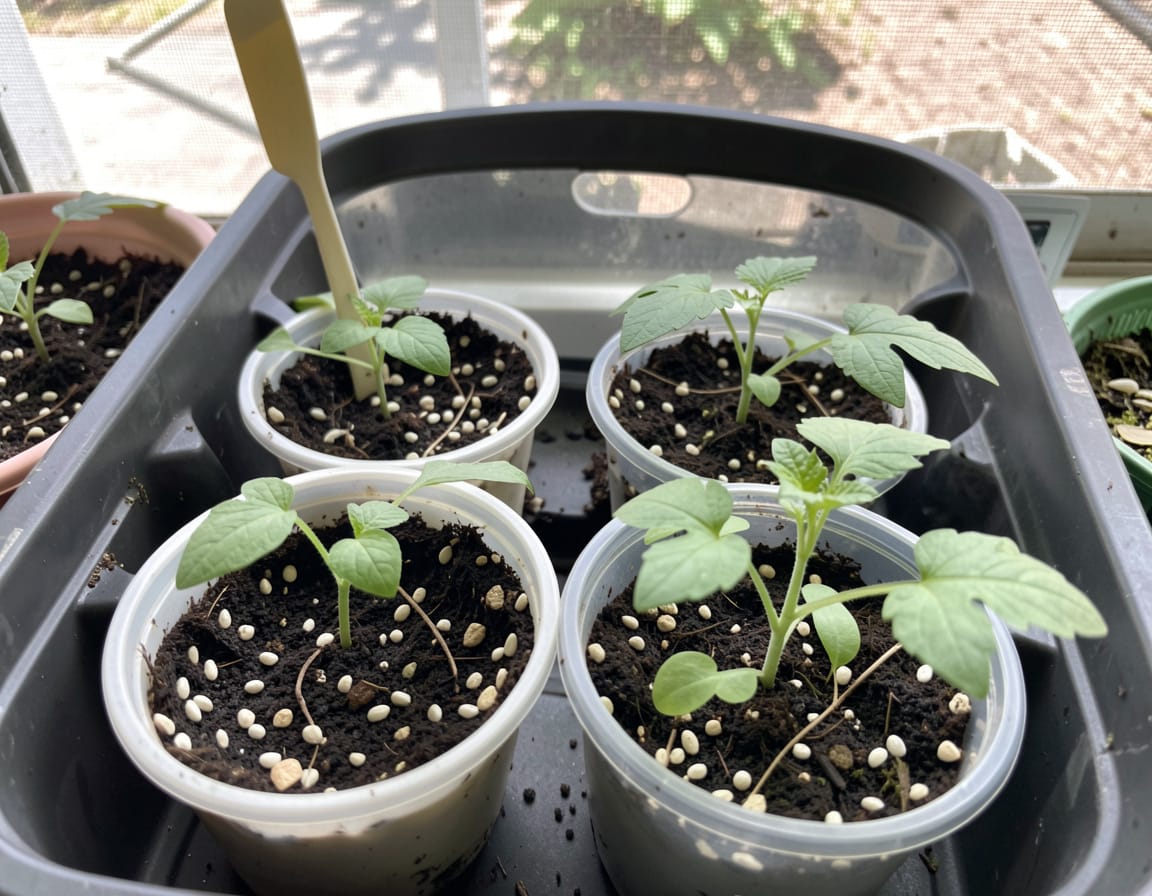
- Label trays with wood popsicle sticks instead of plastic markers.
- Natural Pest Deterrence:
- A few drops of neem oil in your watering routine (monthly) helps repel fungus gnats organically.
- Mindful Water Use:
- Collect rainwater or use filtered water to avoid chlorine buildup. In many U.S. homes, tap water contains enough chlorine to affect delicate seedlings.
FAQ: How to Start Seeds Indoors for Beginners
1. What’s the easiest way for beginners to start seeds indoors? Use an organic seed-starting mix, a simple tray with drainage, and a bright light source. Keep the soil evenly moist—not wet and warm. Most seeds germinate best between 65–75°F.
2. When should I start seeds indoors in the U.S.? Check your USDA growing zone. Generally, start seeds 6–8 weeks before your region’s last frost. Most seed packets list recommended start times for your zone.
3. Can I use regular potting soil to start seeds? No. Potting soil holds too much moisture and can suffocate seedlings. Use a fine-textured, sterile organic seed-starting mix to support healthy roots.
4. How much light do indoor seedlings need? Most need 12–14 hours daily. Window light alone is rarely enough, especially in winter. A small LED grow light setup makes all the difference.
5. How do I prevent mold or fungus in my seed trays? Avoid overwatering, remove humidity covers once sprouts appear, and improve air circulation with a small fan.
6. Is it worth starting seeds indoors organically instead of buying nursery plants? Yes. You control the inputs no synthetic fertilizers or pesticides and it’s more sustainable. Plus, you’ll have access to heirloom and organic varieties that many nurseries don’t carry.
7. Can renters start seeds indoors without major equipment? Absolutely. A bright window, recycled containers, and a compact LED panel can grow a surprising number of seedlings.
Conclusion
Starting seeds from scratch is one of the most rewarding ways to connect your home to nature’s rhythm. Understanding how to start seeds indoors for beginners isn’t about perfection it’s about observation, consistency, and care. Every homeowner or renter can create an organic seed-starting system that fits their space, budget, and lifestyle.
When done thoughtfully, it’s more than gardening—it’s a daily reminder of growth, patience, and sustainability. And once you transplant those first healthy, organic seedlings into pots or garden beds, you’ll see that the extra effort pays off in stronger plants, cleaner air, and a deeper connection to your home’s natural balance.