Every product is independently reviewed and selected by our editors. If you buy something through our links, we may earn an affiliate commission at no extra cost to you.
Preparing a pineapple top to grow whether you plan to root it in water or directly in soil is a wonderfully sustainable way to turn kitchen scraps into living greenery. I’ve helped many homeowners and apartment gardeners start successful pineapple plants indoors using grocery-store fruit. The key is clean preparation, drying time, and attention to rot prevention.
Here’s exactly how I recommend doing it, step by step.
Step-by-Step: How to Prepare a Pineapple to Grow
1. Choose a Healthy Pineapple
Start with the right fruit it’s the foundation of success. Look for:
- Bright green leaves with no browning or wilting.
- Firm fruit with fresh skin and no moldy or soft spots at the base.
- Avoid pineapples that have been refrigerated, since cold storage can damage the crown tissue that needs to root.
Pro Tip: If you can, buy from a local market that keeps pineapples at room temperature. Organic fruit is preferable since it hasn’t been treated with anti-sprouting chemicals.
2. Separate the Crown (Leafy Top)
You can do this one of two ways:
- Twist method: Grip the leafy top firmly and twist until it detaches from the fruit.
- Cutting method: Slice the top off about ½ inch below the leaves using a clean knife.
Once it’s separated:
- Trim away any remaining fruit flesh you want only the tough, fibrous core, not juicy fruit.
- If you leave fruit tissue, it will rot before roots form.
3. Remove Lower Leaves
Carefully strip away the bottom 1–2 inches of leaves from the crown’s base. This exposes small brown bumps the root buds that will later grow into roots.
In my experience, this step is essential. If you plant or root the crown without exposing those nodes, roots often fail to develop evenly.
4. Let the Crown Dry
This is the step most beginners skip and it’s usually why their pineapple rots.
After cleaning and trimming:
- Place the crown upside down or upright on a paper towel in a warm, shaded, well-ventilated area.
- Let it dry for 2–3 days.
This allows the fresh cut to callus over, sealing the tissue and preventing rot once it touches water or soil.
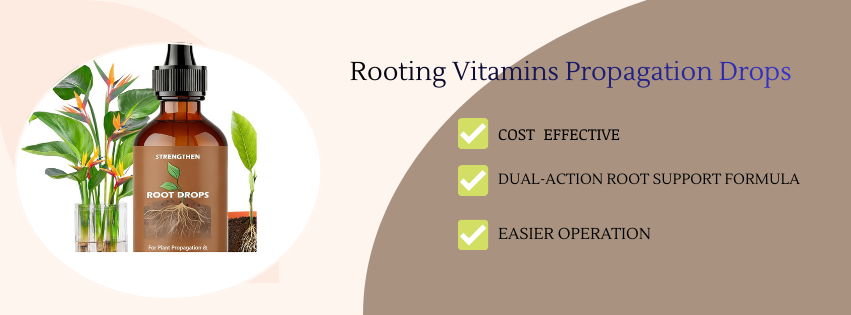
5. Optional: Dip in Natural Rooting Aid
While not mandatory, you can encourage faster rooting by dipping the base in one of these organic options:
- Cinnamon powder (natural antifungal)
- Aloe vera gel (mild root stimulant and microbial barrier)
I often use a dab of aloe vera gel from a homegrown leaf simple, effective, and completely natural.
6. Choose Your Rooting Method
A. Rooting in Water
- Set the dried crown in a glass of room-temperature, filtered water.
- Only submerge the bare stem (about 1 inch) never the leaves.
- Place it in bright, indirect sunlight.
- Change the water every 2–3 days to prevent bacterial growth.
You’ll see roots forming within 2–4 weeks.
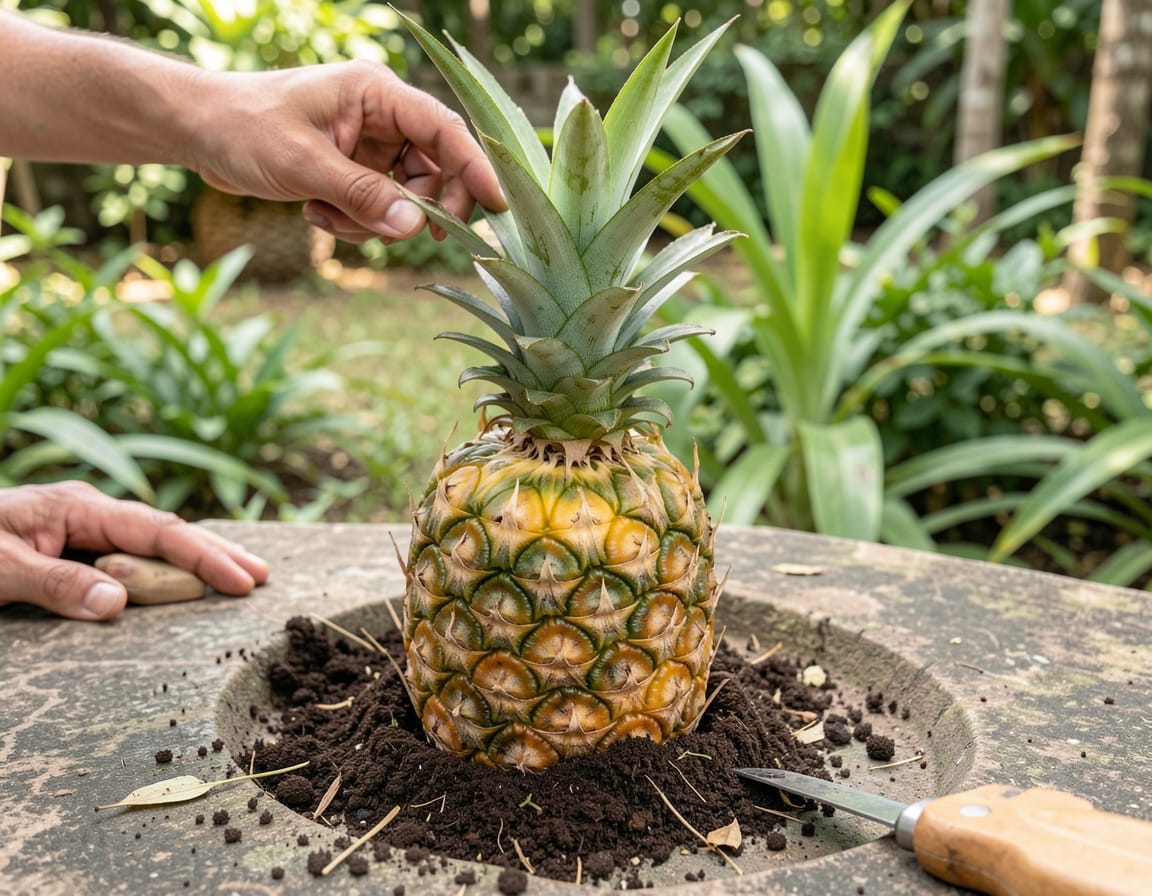
B. Rooting in Soil
- Fill a small pot (6–8 inches wide) with well-draining mix: 2 parts organic potting soil + 1 part coarse sand or perlite + 1 part compost.
- Plant the crown just deep enough to stabilize it leaves above soil, stem below.
- Water lightly once, then keep the soil barely moist.
- Place in bright light and warm temperatures (70–85°F).
Roots typically appear in 3–5 weeks in soil.
7. Signs the Pineapple Is Ready to Grow
You’ll know your preparation worked when:
- New central leaves begin to grow upward from the middle.
- Roots reach 2–3 inches long (if grown in water).
- The plant feels firm when gently tugged (if grown in soil).
That’s your cue to transplant into a larger pot with rich, well-draining mix and start regular care.
Safe & Sustainable Tips
| Step | Sustainable Practice | Why It Helps |
| Fruit selection | Buy local or organic pineapples | Reduces chemical exposure |
| Rooting container | Reuse a glass jar or yogurt cup | Cuts plastic waste |
| Potting soil | Mix your own with compost | Avoids peat-heavy commercial mixes |
| Fertilizer | Use diluted organic liquid feed | Non-toxic, safe for indoor use |
| Lighting | Energy-efficient LED grow light | Reduces electricity consumption |
Common Mistakes to Avoid
| Mistake | Outcome | Solution |
| Leaving too much fruit on the base | Rots quickly | Trim to just the fibrous core |
| Skipping the drying period | Leads to mold and decay | Always air-dry 2–3 days |
| Submerging leaves in water | Rot and bad odor | Keep only stem in water |
| Low light | Weak, floppy leaves | Place near bright window or use a grow light |
| Expecting fast fruit | Unrealistic indoors | Enjoy as a decorative plant first |
Final Overview
Preparing a pineapple top to grow is mostly about clean technique and patience. Once rooted, it becomes a striking, tropical centerpiece something that brings life to your kitchen windowsill or sunroom.
I often encourage clients to do this with kids or as a home sustainability project: it’s a hands-on way to show how even food waste can regenerate into something beautiful.
With a healthy crown, careful trimming, and a few days of drying time, you’ll give your pineapple top the best possible start toward a long, healthy indoor life.