Every product is independently reviewed and selected by our editors. If you buy something through our links, we may earn an affiliate commission at no extra cost to you.
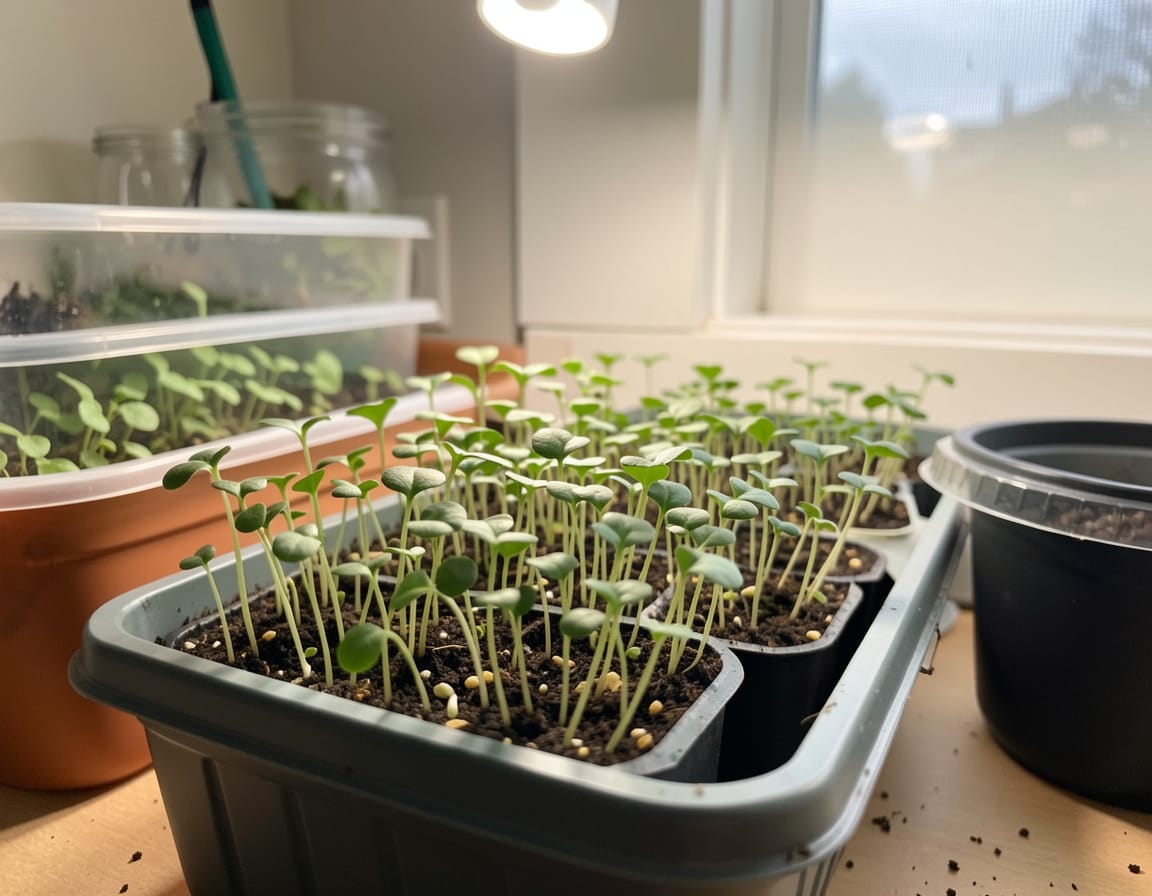
Microgreens are young seedlings of edible plants harvested when they’re 1–3 inches tall, usually 7–21 days after sowing. They’re flavorful, colorful, and rich in vitamins and antioxidants.
Common microgreens include arugula, radish, kale, broccoli, mustard, sunflower, pea shoots, and cilantro.
What You’ll Need
| Item | Purpose | Sustainable Tip |
| Shallow tray (1–2 in deep) | Holds growing medium and seeds | Reuse takeout containers or buy BPA-free trays |
| Drainage tray (optional) | Catches excess water | Reuse baking sheet if needed |
| Growing medium | Seed-starting mix, coco coir, or organic compost blend | Choose peat-free coconut coir for lower carbon footprint |
| Seeds | Certified organic microgreen seeds | Buy in bulk for less packaging waste |
| Spray bottle | Gentle watering | Use a refillable bottle |
| Light source | Sunlight or full-spectrum LED grow light | LED uses less energy and stays cool |
Step-by-Step: How to Grow Microgreens Indoors
1. Choose the Right Location
Pick a spot with bright, indirect light a sunny south-facing window works well. If you lack strong natural light, a full-spectrum grow light placed 6–12 inches above the tray will give consistent results.
Microgreens don’t need intense heat; normal room temperature (65–75°F) is perfect.
2. Prepare the Tray
- Fill your tray about 1 inch deep with moist growing medium (not soaking wet).
- Smooth and lightly press the surface.
- If using a tray without drainage holes, water very carefully to avoid soggy roots.
3. Sow the Seeds
- Scatter seeds evenly but densely across the surface about 1 tablespoon for a 10” × 10” tray (more for small seeds like broccoli or arugula).
- Press them gently into the soil with your hand or a clean board.
- Mist with water so the surface is evenly damp.
4. Cover for Germination
Place a lid, another empty tray, or damp paper towel on top to keep moisture in and block light while the seeds sprout.
- Keep covered 2–4 days until most seeds have germinated and tiny shoots are visible.
- Mist daily to keep the surface moist not dripping.
5. Give Them Light
Once sprouts appear, remove the cover and move the tray under your grow light or onto a bright windowsill.
- Provide 12–16 hours of light per day for sturdy growth.
- Continue misting daily or bottom-water (pour a little water into the drainage tray so soil absorbs from below).
6. Watch for Mold or Overcrowding
Good airflow prevents mold. If your air is still or humid, set a small fan on low nearby. If you spot fuzzy white growth at soil level, it’s usually harmless root hairs but if it smells sour, discard that batch and start fresh with cleaner trays and less water.
7. Harvest at the Right Time
Most microgreens are ready 7–14 days after planting, when they develop their first set of true leaves.
- Use clean kitchen scissors to clip just above the soil line.
- Rinse gently and pat dry before eating.
8. Clean Up and Reuse
After harvesting:
- Compost the spent soil and roots.
- Wash trays thoroughly with mild soap and dry before the next batch.
You can reseed immediately for continuous harvests every couple of weeks.
Beginner-Friendly Varieties
Start with fast, forgiving seeds:
- Radish: Sprouts in 3 days, harvest in 7–10.
- Broccoli: Mild flavor, reliable germination.
- Pea shoots: Sweet, crisp, easy for kids to grow.
- Sunflower: Nutty flavor; needs good light.
- Arugula: Peppery; great for salads and sandwiches.
Avoid slow or finicky ones (like basil or beet) until you’ve mastered the basics.
Practical Suggestions from Real Homes
- For small apartments: Use stackable trays with a single LED panel overhead.
- For low light climates: Grow microgreens on a kitchen shelf with a light timer 14 hours on, 10 off.
- For busy schedules: Bottom-watering every 2–3 days is far easier than misting daily.
Organic & Sustainable Touches
- Use peat-free soil or coconut coir to reduce environmental impact.
- Fertilizer isn’t necessary microgreens grow on the nutrients stored in their seeds.
- Compost spent soil and rinse trays with biodegradable soap between cycles.
Harvest-to-Table Ideas
- Toss fresh microgreens into salads, grain bowls, or avocado toast.
- Add them after cooking to retain nutrients and texture.
- Blend into smoothies for mild greens like pea or broccoli shoots.
In Summary
To grow microgreens indoors successfully:
- Use shallow trays with organic soil or coco coir.
- Keep them moist but not soaked.
- Provide steady light and good airflow.
- Harvest in 1–2 weeks.
It’s quick, clean, and surprisingly satisfying a perfect starting point for anyone exploring indoor organic gardening.